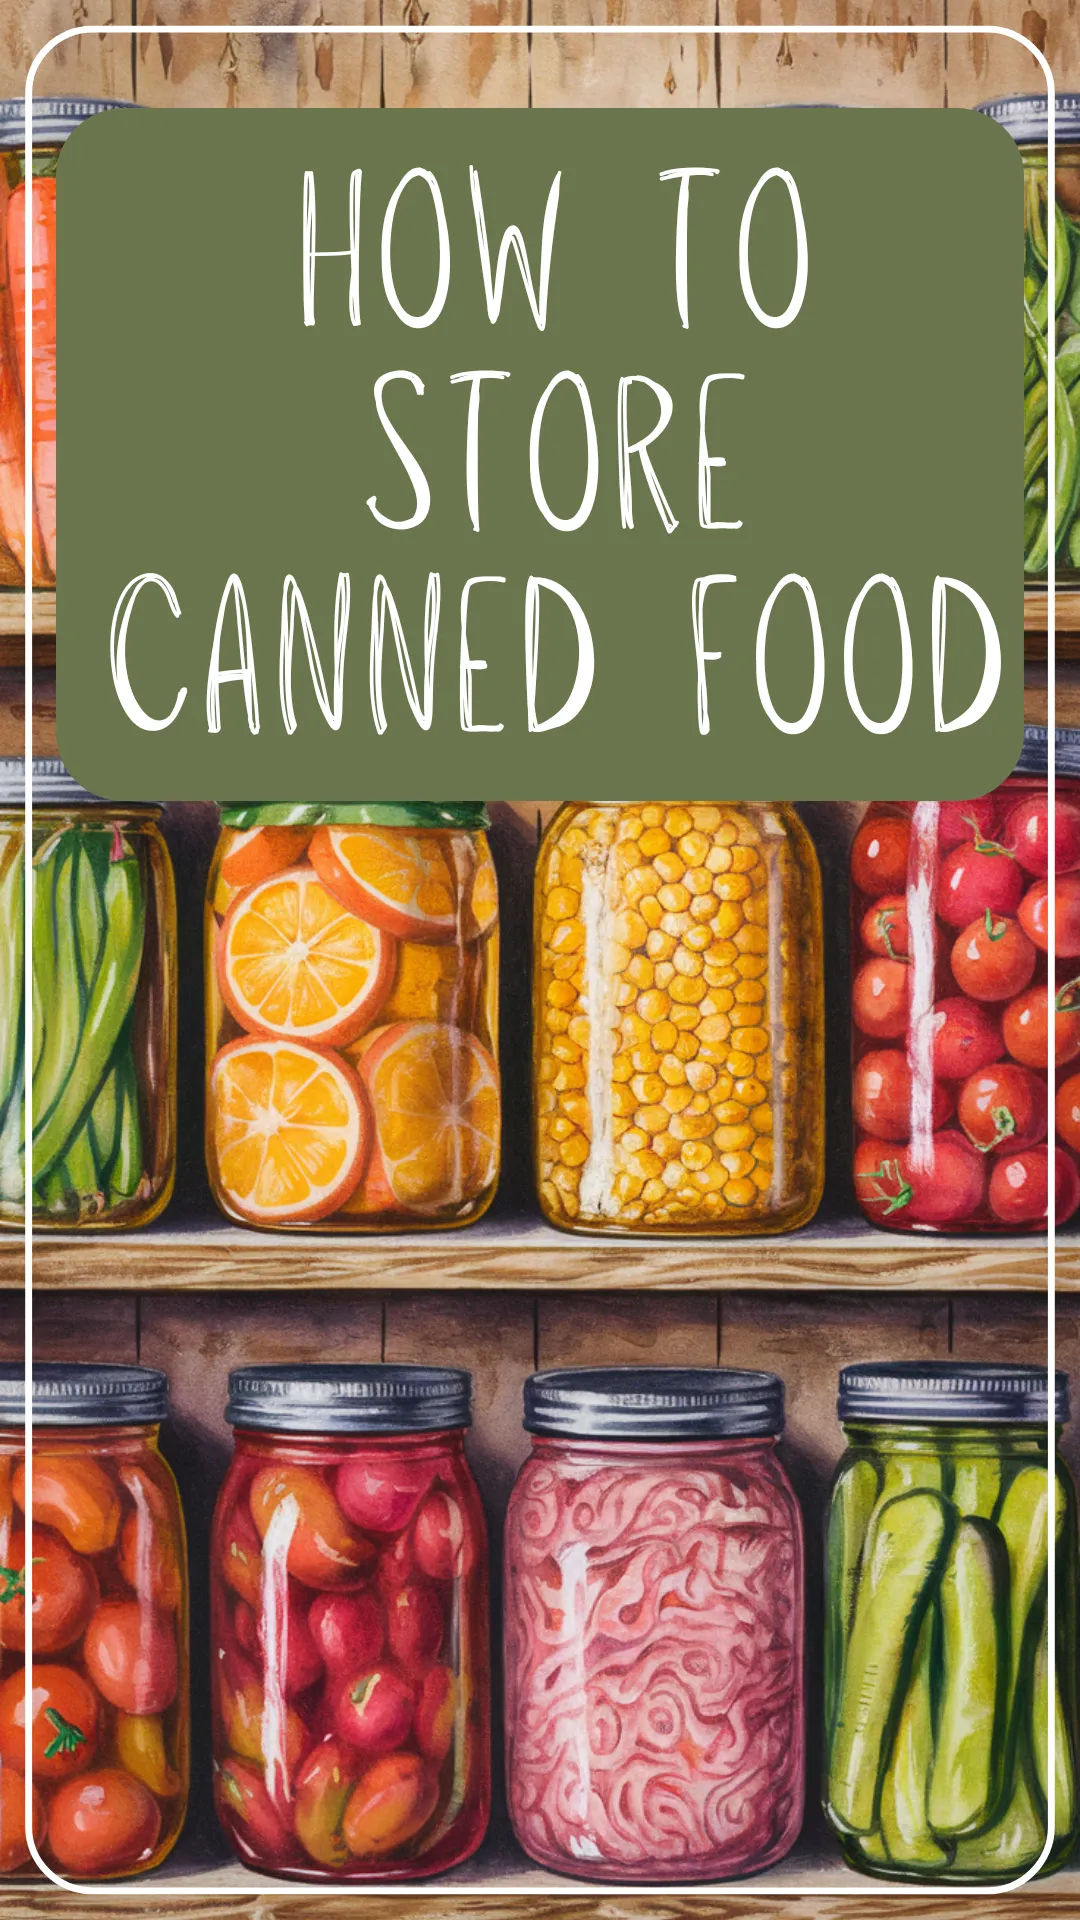
How to Store Home Canned Food (Shelf Life, Temperature & Labeling Tips)
Wondering how long home canned food lasts or where to store your jars? This beginner-friendly guide covers the best storage conditions, labeling tips, and how to spot spoilage—perfect for keeping your pantry safe and organized!
Inside this post:
- 1 How to Store Home Canned Food
- 1.1 The Best Conditions for Storing Home Canned Food
- 1.2 How Long Does Home Canned Food Last?
- 1.3 How to Label Your Canned Jars (So You Know What’s What)
- 1.4 How to Organize and Rotate Your Canning Stock
- 1.5 How to Spot a Bad Jar Before You Open It
- 1.6 Quick-Glance Storage Do’s and Don’ts
- 1.7 Final Thoughts
How to Store Home Canned Food
Shelf Life, Temperature Tips, and Smart Labeling Tricks
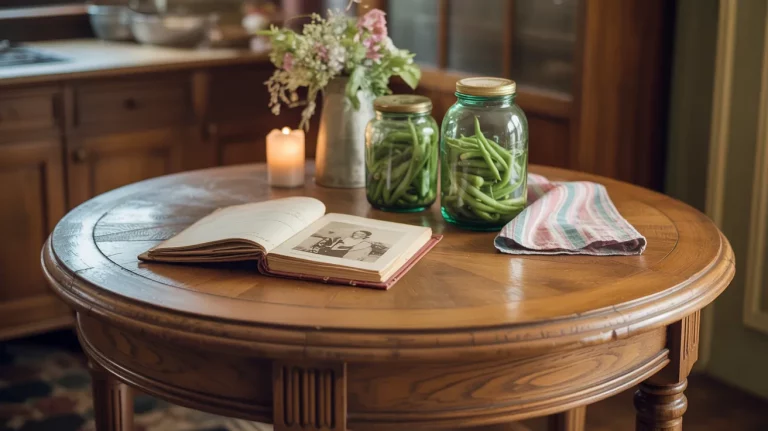
You’ve filled your jars, heard that satisfying little pop, and maybe even snapped a photo of your pantry shelf like the proud home canner you are. But once the jars are sealed, there’s still one important step left—storing them properly.
Where and how you store your canned food can make a big difference in how long it lasts and how safe it stays. In this guide, we’ll cover everything you need to know about storing home canned goods, from ideal temperature and labeling tips to organizing your pantry and knowing when something’s no longer good to eat.
Whether you’ve got two jars or two hundred, these simple habits will help your hard work go further (and keep your pantry looking beautifully stocked!).
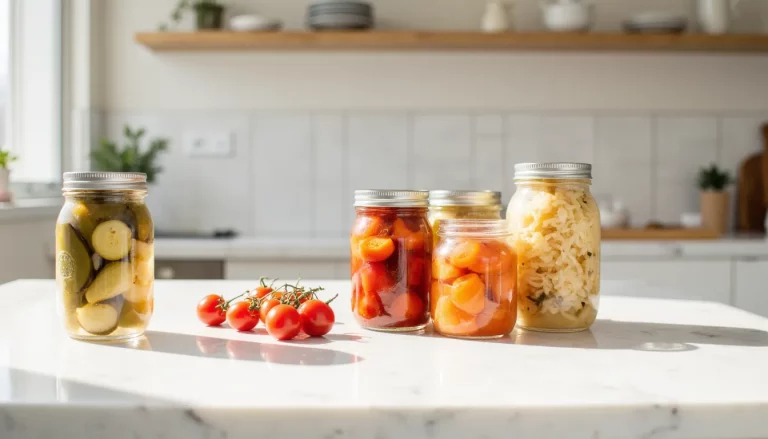
The Best Conditions for Storing Home Canned Food
If you’ve ever wondered where to store home canned food after processing, the short answer is: somewhere cool, dark, and dry.
Light, heat, and humidity are the enemies of long shelf life. They can cause lids to rust, seals to fail, or food to discolor and lose quality faster.
Ideal Storage Conditions:
- Temperature: between 50°F and 70°F (10°C to 21°C)
- Light: keep jars out of direct sunlight
- Humidity: store in a dry spot—avoid areas prone to dampness
Great Places to Store Jars:
- Pantry
- Interior kitchen cupboards (away from the stove)
- Basement or cellar
- Under the bed (yep, really—great for small spaces!)
Places to Avoid:
- Garages or sheds that get hot or freeze
- Near appliances that give off heat (like ovens or dishwashers)
- Window sills
- Damp laundry rooms or boiler cupboards
Pro Tip:
Remove the screw bands before storing. This helps prevent rust and makes it easier to spot a failed seal later on.
How Long Does Home Canned Food Last?
One of the most common questions new canners ask is: how long does home canned food last? The answer depends on how well it was processed, how it’s stored, and what type of food is inside—but here’s the general rule:
Best quality within 12 to 18 months
Discard if it shows any signs of spoilage—no matter the age
Properly sealed jars can technically last longer than that, especially if stored in ideal conditions. But over time, you may notice changes in flavor, texture, or color, even if the food is still safe. High-acid foods (like fruits and pickles) tend to lose quality faster than low-acid foods (like beans or meats).
What happens after a year?
- The food may still be safe if sealed and stored well
- Texture can go soft (especially in fruit and pickles)
- Bright colors might fade
- Flavor may become less vibrant
That said, we’ve all opened a two-year-old jar of applesauce and had it taste just fine. It’s about using your best judgment—and knowing the difference between cosmetic changes and spoilage (which we’ll cover in a minute!).
Pro Tip:
If you know you won’t use all your jars within a year, plan to rotate and gift some to family or friends. It’s a lovely way to share your hard work and keep your pantry fresh.
How to Label Your Canned Jars (So You Know What’s What)
You might think you’ll remember what’s in those jars next month… but trust me, by the time winter rolls around, that salsa and that pasta sauce will look exactly the same. A good labeling system saves you the guesswork (and the accidental “what was this?” dinner moments).
What to include on the label:
- The name of what you canned (e.g. Strawberry Jam, Dill Pickles, Chicken Broth)
- The date you canned it (month/year is usually enough)
- Optional: batch number, recipe used, or notes
Easy ways to label your jars:
- Masking tape and a Sharpie – Cheap, quick, and surprisingly reliable
- Pre-made canning labels – You can find cute designs online or print your own
- Chalkboard labels – Great for reusing jars and switching contents later
- Sticker sheets – Write on them before sticking to the lid or side
Pro Tip:
Label the lid or side—whichever works best for your storage system. If you remove the bands, side labels make it easier to read at a glance (especially when jars are stacked or shelved close together).
How to Organize and Rotate Your Canning Stock
Now that your jars are labeled and safely stored, the next step is making sure they actually get used—before they start losing quality. That’s where organizing and rotating your canning stock comes in.
Think of it like your own little grocery store shelf. You want to use the oldest jars first and make room for fresh ones as you go.
First In, First Out (FIFO) Method
- Always put newly canned jars at the back of the shelf
- Pull older jars to the front so they get used first
- Labeling by month/year helps you track this easily
- Check your stash a few times a year (a quick pantry sweep goes a long way!)
Simple Storage Tips:
- Use shallow shelves or trays to keep jars from hiding behind one another
- Repurpose cardboard canning boxes—they’re sturdy and stack well
- Use dividers or towels if stacking jars to protect lids from pressure and rust
- In small spaces? Try:
- Under-bed storage bins
- Stacking crates in a closet
- Clear shoe organizers for small jars (seriously, they work!)
Bonus Tip: Use a Canning Inventory Sheet
- Helps you track what you’ve canned, what you’ve used, and what you’re low on
- Useful when planning future batches or meals
- You can make a simple spreadsheet or jot it down in a notebook
Pro Tip:
If you’ve got kids, let them help with labeling or stock-rotating. It turns pantry restocking into a fun (and educational) chore!
How to Spot a Bad Jar Before You Open It
Even when you follow every step perfectly, it’s always smart to check your jars before you open them—especially if they’ve been sitting on the shelf for a while. Knowing the signs of spoilage helps you avoid eating something unsafe (and gives you peace of mind every time you pop a lid).
Here’s what to look for before opening a jar of home canned food:
Signs the jar might be bad:
- The lid is bulging or appears misshapen
- There’s leakage or sticky residue on the outside
- The seal has popped or the lid moves when pressed
- You see mold, discoloration, or bubbles before opening
- You hear a hiss or fizzing when opening the jar (especially with non-carbonated foods)
After opening:
- A strange odor (sour, metallic, rotten)
- Cloudy or separated liquid (especially if it wasn’t that way when stored)
- Foam, bubbling, or slime
- Mold under the lid or on the surface of the food
What to do:
- If anything seems off, don’t taste it to check.
- Toss the contents and the lid (but the jar can usually be saved and sanitized).
- It’s disappointing to toss food—but botulism is odorless, tasteless, and potentially deadly. Safety comes first, always.
Pro Tip:
Make a habit of checking the lid seal before you open any jar. If it flexes or clicks, assume the seal has failed and don’t eat it.
Quick-Glance Storage Do’s and Don’ts
Here’s a handy checklist you can bookmark, print, or stick to your pantry door:
Do:
- Store jars in a cool, dark, dry place
- Label every jar with the contents and canning date
- Rotate stock using the oldest jars first
- Remove bands after 12–24 hours to prevent rust and spot failed seals
- Check seals again before opening, especially if it’s been a few months
Don’t:
- Store jars in direct sunlight or near heat sources
- Stack jars without protection between them
- Keep jars in garages, sheds, or anywhere they might freeze or overheat
- Use jars with bulging lids, leaks, or off smells
- Forget what’s in the jar—label it while you still remember!
Final Thoughts
Canning is more than sealing jars—it’s about making your hard work last. With just a little attention to how (and where) you store your home canned food, you can keep everything safe, organized, and ready for when you need it most.
From choosing the right shelf to spotting a jar that’s gone bad, these small steps make a big difference in the quality and safety of your pantry. You don’t need a fancy storage system or perfect handwriting on your labels—just a few smart habits and a Sharpie will do!
Here’s to full shelves, safe jars, and a canning setup that works as hard as you do.
Need help getting started? Check out our Canning for Beginners Guide or grab our Canning Supplies Checklist to make sure you’re set up for success!