Planning Your Canning Garden: Everything You Need to Grow What You Can
Want to grow a garden that actually fills your pantry? This beginner-friendly guide walks you through everything you need to plan a canning garden—from what to plant and how much, to when to harvest and preserve it all.
Inside this post:
- 1 The Beginners Guide to Growing Food You Can Preserve
- 1.1 1. Grow What You’ll Actually Use
- 1.2 2. Start Small – Even 2 Crops Can Be Enough
- 1.3 3. Know Your Zone and Timing
- 1.4 4. Pick the Right Spot to Grow
- 1.5 5. Choose the Right Growing Setup
- 1.6 6. Should You Start from Seed or Buy Plants?
- 1.7 7. Know What (and How Much) to Plant
- 1.8 8. Plan Ahead for Peak Harvest
- 1.9 9. Follow a Monthly Rhythm
- 1.10 10. Keep Learning and Keep It Simple
- 1.11 You’re Not Just Growing Food—You’re Growing Confidence, Connection, and a Slower Way of Living
The Beginners Guide to Growing Food You Can Preserve
You’ve got the dream—jars of sauce on the shelf, pickles tucked in the pantry, maybe even enough jam to give away at Christmas. But then reality sets in: where do you even start? What should you grow? How much do you need? And when exactly is everything supposed to happen?
That’s where a canning garden comes in.
Unlike a regular vegetable garden, a canning garden is planted with a purpose. You’re not just growing for salad or snacking—you’re growing to preserve. It’s about filling your pantry, feeding your family, and stretching the harvest long past the end of summer. And the good news? You don’t need a giant homestead or years of experience to do it. Just a little space, a handful of plants, and a plan.
In this post, we’ll walk through everything you need to know to start a canning garden that actually works for your life. From choosing what to grow (and how much), to timing your harvest and avoiding that “everything’s ripe and I’m overwhelmed” feeling, this guide is your big-picture overview. Think of it as your friendly map to growing what you can—literally.
1. Grow What You’ll Actually Use
It’s easy to get swept up in seed catalogs and Instagram gardens—twenty tomato varieties, six kinds of kale, and enough zucchini to feed the neighborhood. But when you’re growing a canning garden, the goal is a little different: you’re growing with your pantry in mind.
The most helpful place to start? Your own kitchen.
Ask yourself:
- What do we actually eat every week?
- What do I want stocked in my pantry this winter?
- What jars do we always run out of too soon?
Maybe it’s salsa. Maybe it’s pasta sauce or dilly beans or strawberry jam. Whatever it is, let those recipes guide your crop list. This kind of backward planning helps you avoid wasting space on crops that won’t get used—and makes canning feel way more rewarding.
If you’re not sure where to begin, I walk you through it step-by-step in this post:
Grow a Canning Garden You’ll Actually Use – Recipe-Based Planning
Start with your family favorites and build from there. This isn’t about growing everything—it’s about growing what matters most to you.
2. Start Small – Even 2 Crops Can Be Enough
If you’re new to gardening—or new to canning—it’s tempting to try growing all the things. But here’s the truth: starting small is not only okay, it’s smart.
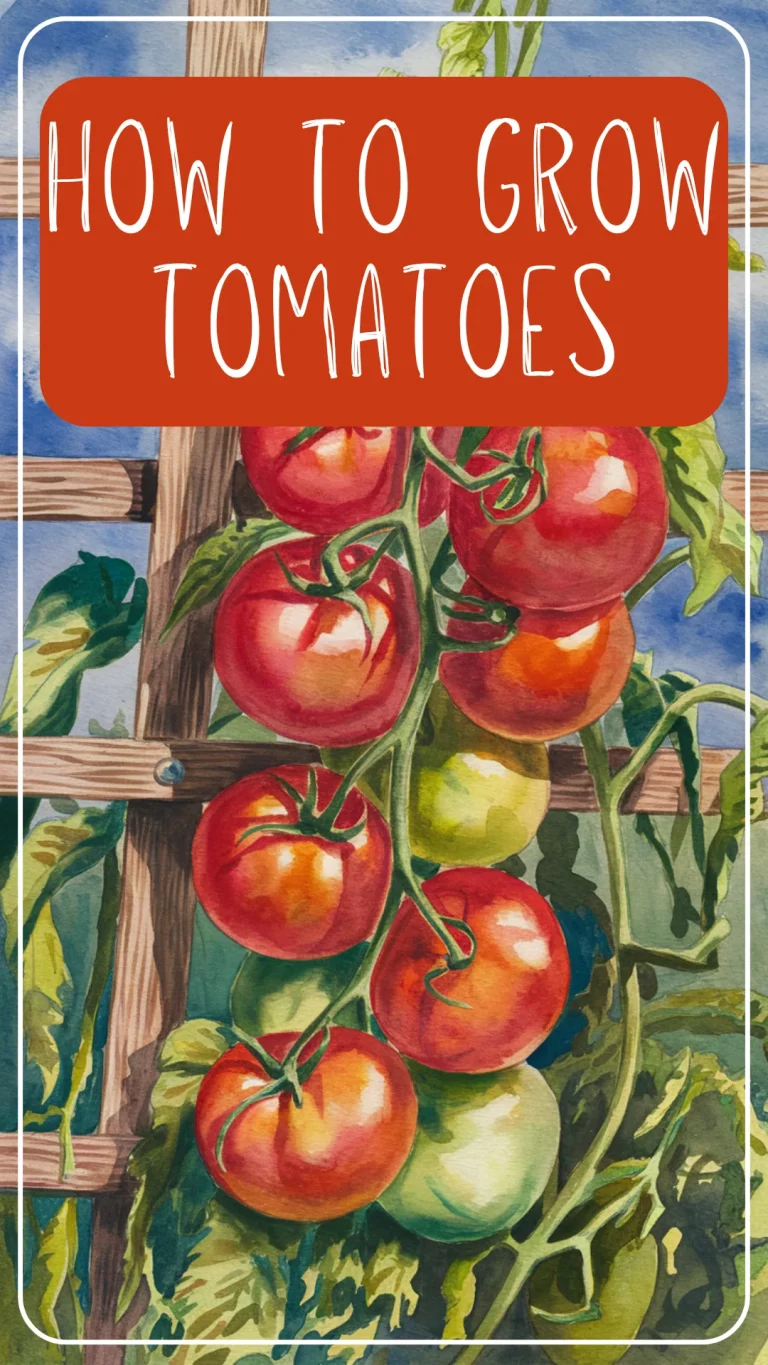
Some of the most satisfying canning gardens begin with just two crops. A few tomato plants and a row of green beans can give you jars of sauce, salsa, and dilly beans without turning your summer into a full-time job.
Starting small gives you room to learn what works in your space, what your family loves to eat, and how much time you really want to spend in the kitchen once the harvest starts rolling in.
Need help picking the right two? This guide walks you through the easiest, most canning-friendly crops to start with:
Start a Canning Garden with Just 2 Crops – Canning for Beginners Made Easy
This is about building confidence, not checking every box. You can always grow more next year—but even a small harvest feels like a win when it’s homegrown and tucked into jars.
3. Know Your Zone and Timing
You can have the best intentions, the right seeds, and the prettiest raised beds—but if you plant too early or too late, things just won’t grow the way you hoped. That’s where your USDA Planting Zone comes in.
Your zone tells you:
- When to plant
- When to expect your first and last frost
- How long your growing season really is
Once you know that, you can time your seed starting, transplanting, and harvesting so your crops have enough time to grow and ripen before the weather shifts.
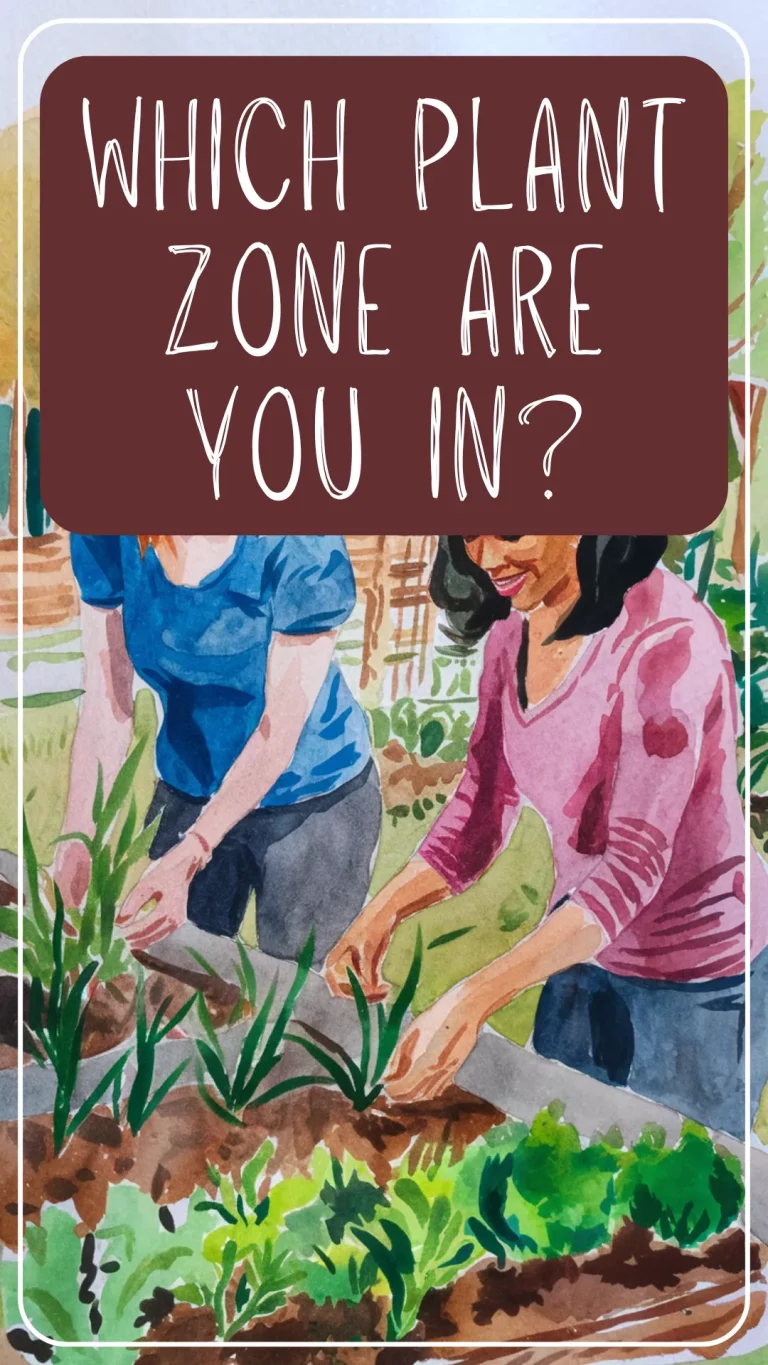
If you’re not sure which zone you’re in or why it matters, this guide will walk you through it:
What Planting Zone Am I In? (And Why It Matters for Canning Gardens)
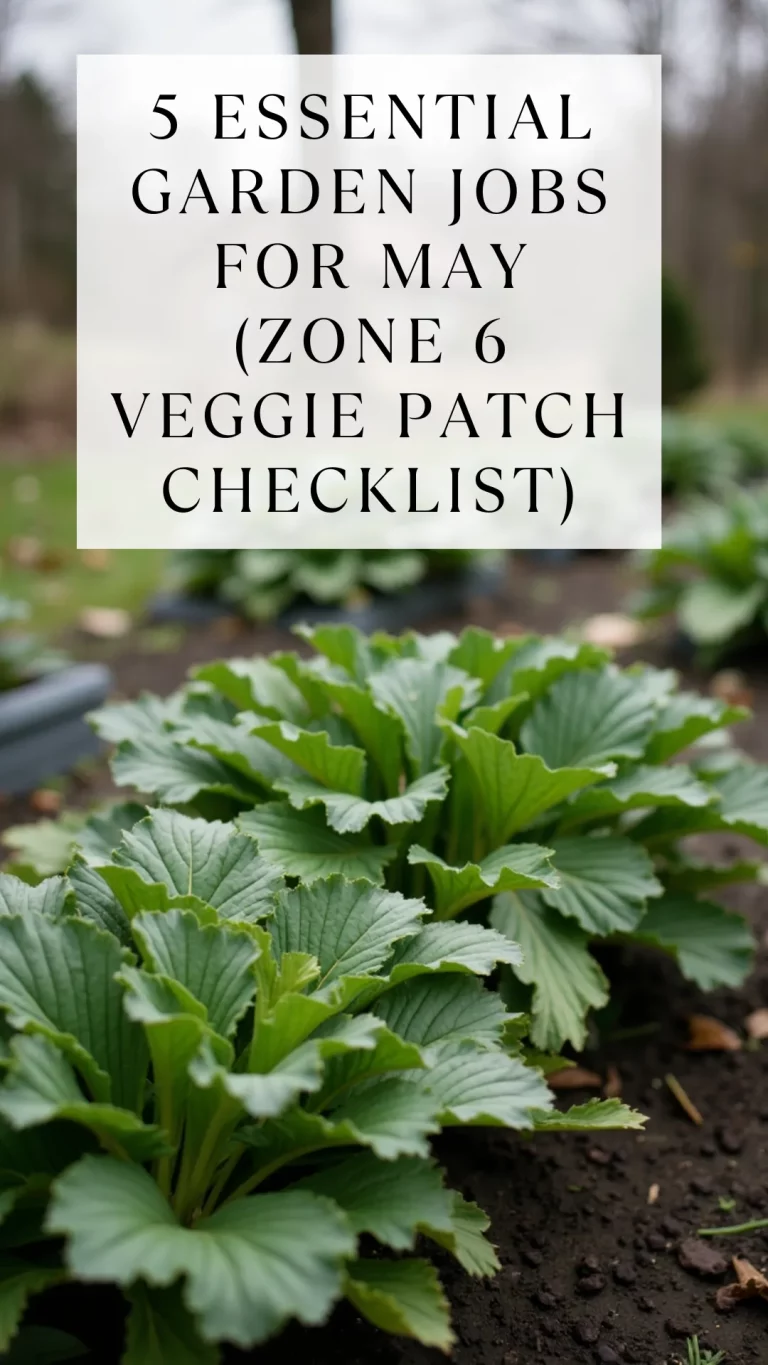
Once you’ve got your zone figured out, take a peek at this month-by-month guide to help you stay on track through the whole season:
The Canning Garden Calendar: Month-by-Month Guide for Planning, Planting, and Harvesting
This step alone takes so much guesswork out of gardening. It doesn’t need to be complicated—you just need to know what’s normal for your area so you can plan around it.
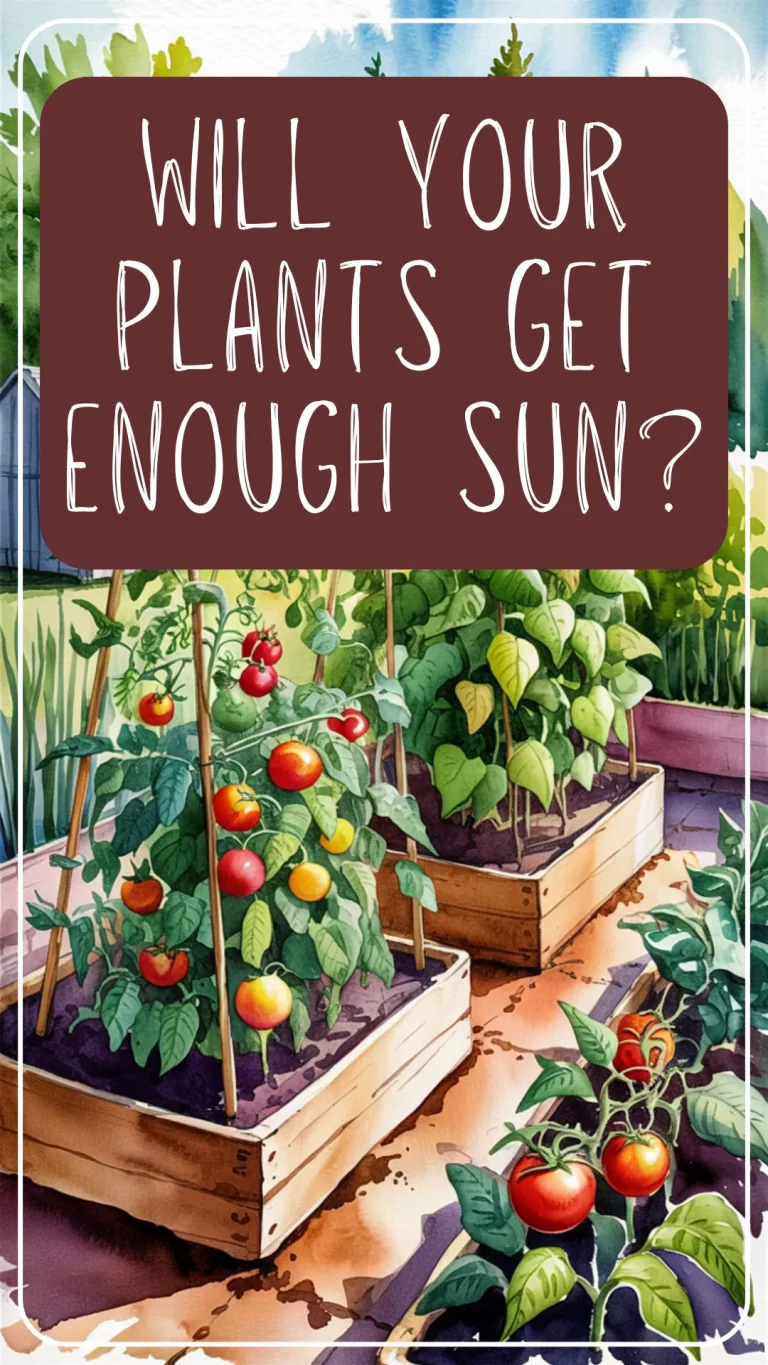
4. Pick the Right Spot to Grow
Before you start digging or setting out pots, take a moment to check your garden space. You don’t need a perfect plot or a magazine-worthy setup—but you do need a spot that gives your plants a fair shot at success.
Here’s what to look for:
- Sunlight: Most canning crops like tomatoes, peppers, and beans need at least 6–8 hours of direct sun a day.
- Drainage: Water should soak in—not pool on the surface. If the ground stays soggy, your plants will struggle.
- Soil: It doesn’t have to be rich black gold, but it should be workable, not compacted like concrete.
If you’re not sure how to tell whether your garden spot is up for the job, this post will help you figure it out—no special tools required:
Is Your Garden Spot Up for the Job? How to Check Sunlight, Drainage, and Soil Before You Plant
And if your dream spot doesn’t tick all the boxes? Don’t worry. You can still grow in raised beds or containers while you improve your soil over time.
5. Choose the Right Growing Setup
Once you’ve picked your garden spot, it’s time to decide how you want to grow. There’s no one-size-fits-all setup here—just the method that fits your space, budget, and season of life.
Your main options:
- Raised beds: Great for small yards, tidy layouts, and easy-to-manage soil.
- In-ground planting: Best if you’ve got the space and decent soil—plus it’s the cheapest option.
- Containers and buckets: Perfect for patios, porches, and anyone short on space (or dealing with rough soil).
Each setup has its pros and cons, and you don’t have to commit to just one. Lots of gardeners use a mix—and that works just fine.
If you’re not sure which way to go, this guide compares them all in plain English:
Raised Beds, Buckets, or In-Ground? How to Choose the Best Garden Setup for Your Canning Goals
Choose what works for you right now. You can always change things up next season.
6. Should You Start from Seed or Buy Plants?
This is one of the most common questions new gardeners ask—and the answer isn’t one-size-fits-all. Both options work. It just depends on your time, space, and comfort level.
Starting from seed:
- Gives you more variety and saves money
- Takes more time and prep (especially indoors)
- Works best if you’ve got space and want to grow a lot
Buying nursery plants:
- Gets you growing faster, with less setup
- Costs more per plant
- Great for short seasons or first-timers
Many gardeners do a little of both. You might start beans and cucumbers from seed in the ground and pick up a few tomato plants from the nursery. It’s not cheating—it’s smart.
Want help figuring out what’s right for you? This post breaks it all down:
Seed Starting or Nursery Plants? What Beginner Gardeners Should Know Before Planting
Bottom line: you don’t need to grow everything from seed to have a successful canning garden. Use the method that fits your life this season.
7. Know What (and How Much) to Plant
It’s easy to go overboard in the spring, only to end up with a mountain of zucchini and not nearly enough tomatoes for sauce. When you’re growing for canning, it helps to think in terms of what you want to preserve—and how many plants it’ll take to get you there.
For example:
- One healthy tomato plant might give you 10–20 lbs of fruit
- You’ll need about 20 lbs of tomatoes for 7 quarts of sauce
- Green beans? You’ll want at least 10–15 plants for a few jars per week
- Cucumbers for pickles? A couple of plants might be plenty—or too much!
Planning around your pantry goals helps keep your garden manageable and your canning season less chaotic.
Not sure where to start? This post offers easy, beginner-friendly estimates for the most popular canning crops:
How Many Plants Do I Need for Canning? A Beginner-Friendly Yield Guide
Keep in mind—these are just starting points. Each season teaches you a little more about what your family eats, what you run out of, and what you might want to skip next time.
8. Plan Ahead for Peak Harvest
One minute you’re watching tiny green tomatoes grow… and the next, everything’s ripe all at once. Garden gluts are real—and while it’s a good problem to have, it can quickly get overwhelming if you’re not ready for it.
A few simple ways to stay ahead of the chaos:
- Stock your canning area early. Keep jars, lids, and labels on hand so you’re not scrambling when the produce rolls in.
- Block out time. If you can, set aside a day or two during peak harvest season just for canning—even a weekend afternoon makes a difference.
- Wash and sort as you harvest. Even if you can’t can right away, prepped produce buys you breathing room.
- Know how to hit pause. When life’s too full, freezing, dehydrating, or storing produce short-term can help you deal with it later (without wasting your harvest).
You don’t have to do it all at once. You just need a plan that lets you respond when the garden decides today is the day.
Need help with fast fixes and storage tips when the glut hits? This guide is for you:
Dealing with Garden Gluts: What to Do When Everything Ripens at Once
9. Follow a Monthly Rhythm
Gardening for canning can feel like a lot to keep track of—when to start seeds, when to transplant, when to harvest, when to can. But it doesn’t have to be a guessing game. Following a gentle, month-by-month rhythm can make the whole season feel a lot more doable.
Instead of trying to do everything at once, you’ll move through the year in smaller steps:
- Plan and prep in the winter
- Start seeds and build beds in early spring
- Plant and tend through late spring and summer
- Harvest and preserve during late summer and fall
- Reflect and rest in the winter
No perfection required—just a steady pace that helps you stay ahead of what’s coming.
I’ve created a full month-by-month guide with the key tasks for each season, plus a printable calendar you can stick on the fridge:
The Canning Garden Calendar: Month-by-Month Guide for Planning, Planting, and Harvesting
When you follow the rhythm of the garden year, everything feels a little less rushed—and a lot more enjoyable.
10. Keep Learning and Keep It Simple
You don’t have to know everything before you begin. In fact, the best way to learn is by starting small, trying one new thing at a time, and seeing what works for you.
Maybe this year you grow a few tomato plants and try your hand at water bath canning. Maybe next year you add beans and learn to use a pressure canner. It doesn’t have to be all or nothing.
A few ways to keep it simple:
- Don’t plant more than you can manage
- Focus on crops your family actually eats
- Keep notes along the way—what worked, what didn’t, what you want more (or less) of next year
- Let each season teach you something new
There’s no prize for the biggest garden or the fullest pantry. The real win is growing food you’re proud of and building a little more confidence each year.
If you need a hand getting started, I’ve got beginner-friendly guides for everything from choosing canning supplies to avoiding common mistakes. You can find them all here:
Canning for Beginners: Everything You Need to Know to Start Preserving at Home
You’re Not Just Growing Food—You’re Growing Confidence, Connection, and a Slower Way of Living
Planning a canning garden isn’t about doing everything perfectly. It’s about planting with purpose, learning as you go, and creating something useful and beautiful for your family. Whether you’re starting with two tomato plants in buckets or filling up raised beds, every jar you tuck away is proof that you’re doing it.
You’re learning skills that last. You’re building something from the ground up. And you’re creating the kind of homegrown, handmade pantry that so many of us dream about.
So start where you are. Grow what you can. And know that even the smallest garden can make a lasting difference—one plant, one harvest, and one jar at a time.