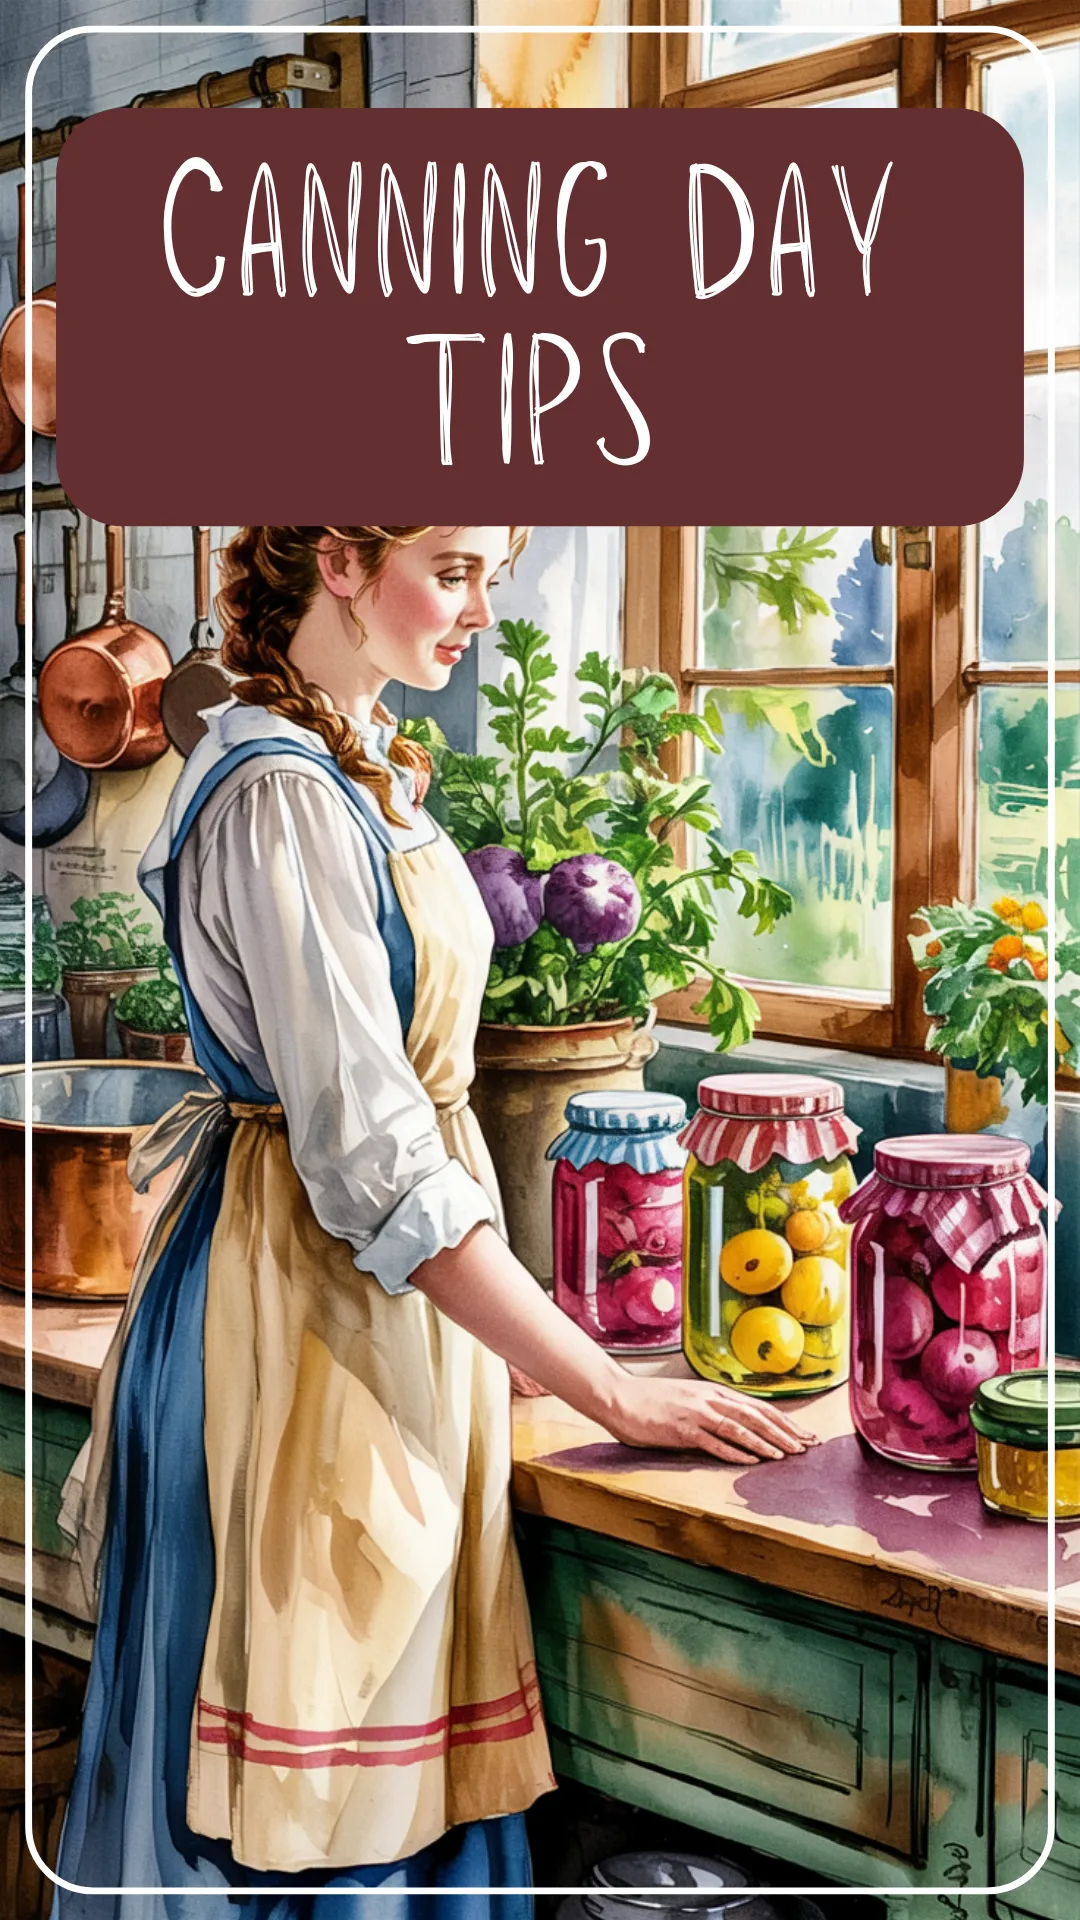
Canning Day Tips – How to Make Your Day Run Smoothly
Want to make your canning day feel less chaotic and more peaceful? This step-by-step guide shares how to prep the night before, stay organized, and enjoy the rhythm of home canning.
Inside this post:
A Calm, Organized Day of Canning: Tips for a Stress-Free Kitchen
Canning day doesn’t have to feel like chaos in a steamy kitchen.
Sure, there’ll be hot jars and bubbling pots and a few sticky countertops—but with a little prep and a pinch of planning, your canning session can feel calm, even satisfying. Like a quiet kind of busy that leaves you tired in a good way by the end of the day.
How you start a canning day makes all the difference in how it ends. In this post we’ll share the secrets to a stress-free routine – from the night-before setup to the last pop of a sealing lid. It’s not fancy or flawless, but it keeps things moving and your kitchen (mostly) under control.
If you’re looking for a rhythm that helps you feel less flustered and more in charge, here’s a gentle guide to organizing your day—from the very first jar to the very last clean-up wipe.
The Night Before: Set Yourself Up for a Smooth Start
If you only take one tip away from this post, let it be this: starting the night before changes everything. When you wake up to a kitchen that’s prepped and ready, you’re already halfway to a successful canning session.
- Lay out your gear.
Pull out your jars, lids, bands, and every tool you’ll need—jar lifter, funnel, ladle, bubble remover, the whole lineup. Even if it feels silly to set it out like you’re packing for a trip, it’ll save you from digging through drawers with sticky hands later. - Print your recipes and tuck them into your binder.
No fumbling with your phone screen while you’ve got jam on your fingers. Having a printed copy in a page protector in your recipe binder makes things way easier (and keeps your recipe splatter-free). - Check your pantry and fridge.
Do a quick inventory. Make sure you’ve got enough lemon juice, sugar, vinegar, or whatever oddball ingredient always seems to run out at the worst time. It’s also a good time to wash and prep any produce that can sit overnight. - Clean the kitchen.
I know—it’s not the fun part. But starting with a clean space makes the whole day run smoother. Clear the counters, wipe everything down, and empty the dishwasher or dish rack so you’re not working around a pile of yesterday’s plates. - Plan a low-effort dinner.
You’re going to be on your feet for most of the day, and by evening, cooking from scratch won’t feel appealing. Think crockpot chili, a frozen casserole, or even just sandwiches with cut-up fruit. Future you will be grateful. - Pick your entertainment.
Queue up a favorite playlist, podcast, or audiobook. It’s amazing what a little background joy can do while you stir jam or wait for jars to process.
Morning Of: The Calm Before the Boil
You’ve done the prep—now it’s time to set the tone for a focused, calm canning day. A few little habits can help you feel grounded and ready, even if the jars start piling up.
- Dress for the job.
Comfy clothes, an apron, and supportive shoes you can stand in for a while. Skip the floaty sleeves and dangly jewelry—they always find a way to land in your jam pot. - Pull your hair back.
It sounds small, but there’s nothing more frustrating than a loose strand falling in your face while you’re trying to pour hot preserves into jars. - Double check your setup.
Wash your jars, warm them if needed, and lay out your lids and tools in the order you’ll use them. If your canner needs time to heat up, get that going early so you’re not waiting on it later. - Prep your ingredients all at once.
Wash, peel, chop—whatever needs doing, try to tackle it in one go. It keeps the workflow smooth and stops you from realizing halfway through that you forgot to core the last few tomatoes. - Set up a clean landing zone for finished jars.
A folded towel on a sturdy counter or table works well. You’ll want a spot that’s out of the way, draft-free, and ready to hold hot jars while they cool and seal. - Have a drink and snack handy.
This might sound silly, but you’ll thank yourself when you’re an hour into processing and realize you haven’t eaten. A bottle of water and something you can nibble without stopping helps keep your energy up.
During the Session: Stay Present and Let the Rhythm Carry You
Now that everything’s rolling, the key is to settle into the rhythm. Canning has its own pace—measured, a little messy, and kind of meditative (once you stop trying to rush it).
- Use your kitchen scale.
Especially if you’re making jam or jelly. Weighing fruit and sugar helps you stick to tested ratios, which keeps your results reliable—and your set just right. - Set timers religiously.
Processing times aren’t suggestions. Whether you’re boiling water or pressure canning, always use a timer you trust (and one you can hear over your podcast). - Label lids or keep a batch checklist.
It’s easy to lose track of what’s in the canner, how long it’s been going, or which recipe you’re on. A sticky note on the counter or a quick jot in your notebook saves guesswork—and helps you spot which jars go with which label later. - Tidy as you go.
It doesn’t have to be spotless, but rinsing tools between uses, wiping sticky spills, and keeping lids and rings corralled makes everything feel more manageable. A little effort now saves a big mess later. - Take breaks when you can.
While jars are processing or cooling, give yourself permission to sit down, drink some water, or stretch your back. Canning is a marathon, not a sprint—and you don’t need to be on your feet the whole time. - Stay flexible.
Even with a plan, things won’t always go perfectly. Maybe a jar breaks, or you misread the recipe. It’s okay. Breathe, adjust, and keep going. That’s part of the charm of home canning—it’s wonderfully human.
After the Jars Are Done: Let the Kitchen Rest Too
The hard part’s over—but a little end-of-day care helps wrap everything up neatly and sets you up for the next round.
- Let the jars cool undisturbed.
As tempting as it is to hover, don’t poke the lids or move the jars around. Leave them on a towel in a draft-free spot for 12–24 hours and listen for that sweet little pop as they seal. - Label and store properly.
Grab a marker or some pre-made labels and note what’s inside and when you canned it. Then move your jars to a cool, dark place (not next to the stove or in direct sunlight). - Jot down a few notes.
Add your thoughts to your canning binder while everything’s still fresh in your mind. Did you like the recipe? Were the peaches super juicy? Any changes you’d make next time? - Celebrate the moment.
Whether that’s admiring your lined-up jars, snapping a picture, or just putting your feet up with a glass of iced tea—take a second to be proud. You’ve preserved something special from your kitchen or garden, stocked your pantry with care, and maybe made a few sweet memories in the process.
Final Thoughts: Let Canning Be a Joy, Not a Juggle
There’s something deeply satisfying about a canning day done right—when the jars are lined up, the kitchen smells like summer, and your shoulders aren’t up around your ears. It doesn’t have to be perfect. It just needs a little rhythm, a bit of prep, and the grace to roll with whatever drips, breaks, or boils over.
So whether it’s your first batch or your fiftieth, give yourself the gift of a smoother day. Start the night before, build in breathing room, and don’t forget to celebrate the fact that you’re doing something meaningful—for your family, your pantry, and maybe even your peace of mind.
Read Next
Looking to fine-tune your canning setup or boost your confidence in the kitchen? These posts are a great next step:
Canning Supplies Checklist for Beginners – A clear, no-nonsense list of what you actually need (and what you don’t) when you’re first starting out.
20 Canning Tips for Beginners – Little tricks that make a big difference—like how to keep jars from sticking and how to avoid soggy pickles.
How to Store Home Canned Food Safely – Tips on shelf life, storage temps, and the best way to label your jars so you never forget what’s what.
Common Canning Mistakes (and How to Avoid Them) – Because we’ve all been there—this post helps you skip the stress and keep your jars sealed and safe.