Don’t Skip This Step! How Processing Time Keeps Your Canned Food Safe
One of the biggest mistakes people make when canning is not using the correct processing time.
I get it—after hours of washing jars, prepping produce, and stirring hot pots, it’s tempting to rush that last step and shave off a few minutes. But here’s the thing: those final minutes in the canner are not optional. They’re what stand between a delicious, shelf-stable jar of homegrown goodness and a science experiment gone wrong.
Processing time isn’t just about sealing the jar lid—it’s about making sure the food inside is safe to eat. It’s the part of the process that kills off any lingering bacteria, molds, or yeasts and creates the vacuum seal that keeps oxygen (and spoilage) out.
In this post, we’re going to chat through exactly why processing time matters, what can go wrong if you skip it, and how to make sure you’re doing it right every time. If you’re putting in the work to can at home, let’s make sure that hard work pays off with food that’s safe, tasty, and ready when your family needs it most.
Inside this post:
What is Processing Time When Canning?
Let’s start with the basics—what exactly is “processing time”?
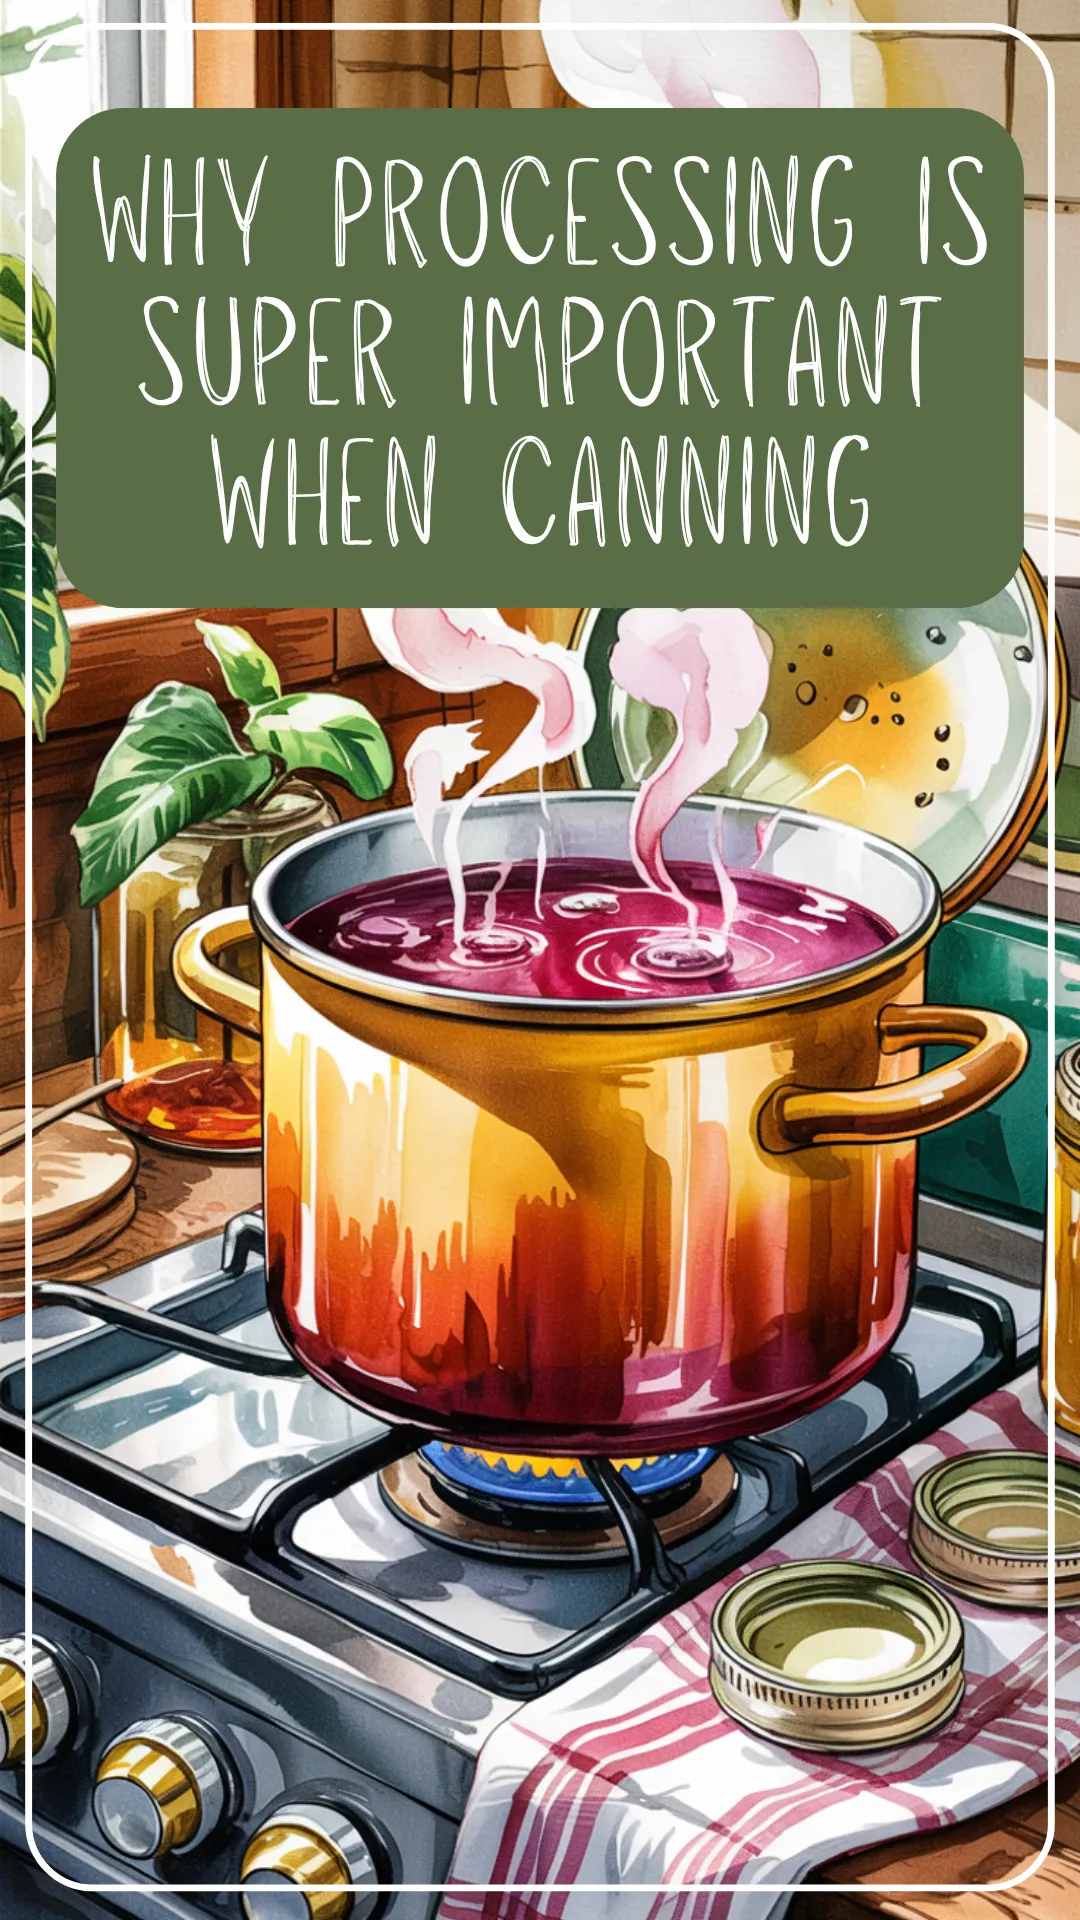
In home canning, processing time refers to the amount of time your filled jars need to stay in a boiling water bath or under pressure (in a pressure canner) after the canner reaches the right temperature or pressure. It’s the time needed to heat the food all the way through, kill any harmful microorganisms, and safely seal the jar.
This isn’t a “better safe than sorry” sort of thing—it’s a must-do. Skipping or shortening the processing time can mean bacteria like Clostridium botulinum (the one behind botulism) might survive and grow in your sealed jars without any warning signs. No off smell. No mold. Just food that looks fine but isn’t safe to eat.
Here’s an example:
Let’s say you’re making a batch of peach jam and the trusted recipe says to process pint jars in a boiling water bath for 10 minutes. If you only process them for 5 minutes because the lids seem sealed and “it’s just jam,” you risk not heating the center of the jar enough to kill off yeast or mold. Even though the jar sealed, those microorganisms can still grow and spoil the food—or worse, make someone sick.
Bottom line: processing time is your safety net. It’s not about perfection—it’s about protecting your pantry, your hard work, and your family’s health.
What Happens During Processing
Processing isn’t just a formality—it’s the moment your jars become shelf-stable and safe to store long term. Once your jars are filled and placed in the water bath or pressure canner, a few really important things start happening inside.
1. Harmful microbes are destroyed.
The heat from the boiling water (or the high pressure and heat in a pressure canner) kills bacteria, yeasts, and molds that can cause your food to spoil—or worse, cause serious illness. This includes the scary stuff like Clostridium botulinum, which thrives in low-acid, oxygen-free environments like a sealed jar of green beans.
2. Air is pushed out and a vacuum seal forms.
As the jars are heated, the contents expand and air escapes. When you remove the jars from the canner and they cool down, the remaining air contracts, creating that familiar “pop” as the lid seals. This vacuum keeps oxygen out, which helps preserve flavor, texture, and color—and keeps bacteria from creeping back in.
Example:
Think of a jar of homemade tomato sauce. As it processes, the heat kills off any spoilage organisms in the sauce and forces air out of the headspace. Once the jar cools and seals, you’ve got a vacuum-sealed, safely preserved jar that can sit on your pantry shelf for months—without needing refrigeration or freezer space.
In short: processing time is the part of the canning process that makes your food safe to eat and safe to store. It’s not just about sealing the lid—it’s about making sure what’s inside is safe, too.
How Processing Time Is Determined
If you’ve ever wondered why one recipe calls for 5 minutes and another calls for 90, it’s not random—it’s science. Processing time is carefully calculated by food safety experts based on a few key factors, and it’s crucial that we follow those guidelines to the letter.
1. It depends on what you’re canning.
Different foods require different processing times depending on their acidity and texture.
- High-acid foods (like jams, pickles, and most fruits) are more hostile to bacteria, so they can be safely processed in a boiling water bath for shorter times.
- Low-acid foods (like green beans, corn, or meat) must be pressure canned at higher temperatures to kill harmful bacteria—especially botulism spores—which means longer processing times.
2. Jar size and density matter.
The size of your jar and how thick or chunky the food is inside affects how long it takes for the heat to reach the center.
- A pint jar of apple slices will heat through faster than a quart jar of thick chili.
- Dense foods like pumpkin purée or refried beans can take longer to heat evenly—and some, like mashed pumpkin, aren’t safe to can at all because the heat can’t reliably reach the center.
Example:
Say you’re canning whole tomatoes. If you’re using pint jars, the processing time in a boiling water bath might be 35 minutes. But switch to quart jars? You’ll need to process them for 45 minutes. Why? Because it takes longer for the center of a larger jar to reach a high enough temperature to ensure everything inside is safe.
So the next time a recipe says, “Process pint jars for 15 minutes,” you’ll know that time wasn’t pulled out of thin air—it’s the result of tested research designed to keep your food safe.
The Risks of Under-Processing
It might seem harmless to shave a few minutes off the processing time—especially if the jars look sealed and everything smells fine. But the truth is, under-processing is one of the most dangerous mistakes you can make in home canning.
1. Spoilage isn’t always visible.
Just because your food looks and smells okay doesn’t mean it’s safe.
- Dangerous bacteria like Clostridium botulinum don’t leave visible clues—and they thrive in sealed, low-oxygen environments like a canning jar.
- You could open a jar months later, eat a few bites, and never know it was contaminated—until someone gets seriously sick.
2. You’re risking more than just wasted food.
When a jar isn’t processed long enough, it may seal, but it hasn’t gone through the full heat treatment it needs.
- This can lead to jars unsealing later, contents bubbling up or fermenting, or worse—foodborne illness.
- You’ll not only waste your ingredients and time, but also possibly put your family’s health at risk.
Example:
Imagine you’re pressure canning green beans and decide to process them for 10 minutes less because you’re running late for school pickup. The jar seals, sure—but botulism spores inside those beans weren’t destroyed. Months later, you serve them at dinner and someone ends up in the ER. That’s the level of risk we’re talking about.
It sounds scary because it is—but the good news is, it’s entirely preventable. Stick to tested recipes, follow processing times exactly, and you’ll keep your food safe and shelf-ready.
Adjusting for Altitude
Here’s a canning curveball not everyone expects: your altitude affects your processing time. Yep—how high up you live plays a role in how hot your canner gets and how long your jars need to stay in it.
1. Water boils at lower temperatures at higher altitudes.
The higher you go above sea level, the lower the temperature at which water boils.
- That means in a water bath canner, the boiling water may not be hot enough to kill bacteria in the time listed for sea-level processing.
- To make up for the lower temperature, you need to increase the processing time (for water bath canning) or increase the pressure (for pressure canning).
2. You need to adjust your timing and/or pressure based on your elevation.
Don’t worry—you don’t need to memorize the numbers.
- Just look up your altitude and compare it to a reliable chart (like this one from South Dakota State Extension Office).
- For example, if you’re water bath canning at 3,000 feet, you’ll likely need to add 5 extra minutes to the processing time listed for sea level.
Example:
Let’s say you’re canning salsa and the recipe says to process pints for 15 minutes. If you live at 4,000 feet above sea level, you’ll need to bump that up to 25 minutes. If you don’t, the lower boiling temperature at your elevation might not be hot enough to kill off harmful microbes—and your jars won’t be shelf-safe.
So before you fire up the canner, take a minute to check your elevation. It’s a simple step that makes a big difference in keeping your canned food safe.
Common Mistakes to Avoid
Even seasoned canners can slip up now and then, especially when juggling kids, chores, and a hot kitchen. But when it comes to processing time, cutting corners can mean cutting out safety. Here are a few common mistakes to watch out for—and how to avoid them.
1. Guessing or shortening the processing time to save a few minutes.
It’s tempting, especially when you’re tired or behind schedule.
- But even shaving off 5 minutes can mean your jars don’t reach the temperature needed to kill harmful bacteria.
- The food might seal, but without the full processing time, it may not be safe for storage—or for eating.
2. Using old family recipes or unverified sources.
Just because Grandma did it that way in 1972 doesn’t mean it’s safe today.
- Canning guidelines have changed over the years as we’ve learned more about foodborne illness and safe preservation practices.
- Always double-check recipes against a trusted modern source, like the USDA Complete Guide to Home Canning or your local extension office.
Example:
Say you found a lovely recipe for canned zucchini on an old blog. It sounds great, but it hasn’t been tested for safety—and zucchini is a low-acid food that requires very specific handling. If the recipe tells you to water bath it for 10 minutes? Run. That’s a major red flag.
Stick with tested, up-to-date recipes and resist the urge to “wing it.” Canning is part science, part tradition—but when it comes to processing time, science wins every time.
How to Know You’re Doing It Right
If you’re new to canning—or just second-guessing yourself after a long day in the kitchen—you might wonder, Did I process that correctly? The good news? There are some clear ways to make sure you’re on the right track.
1. Use a tested recipe from a trusted source.
The most important step starts before you even fill a jar.
- Make sure your recipe is up to date and tested for safety. Good sources include the USDA, Ball Blue Book, and university extension websites.
- Avoid anything that doesn’t list a processing time, pressure, jar size, or method—it’s likely not safe or reliable.
2. Start timing only when your canner is fully up to temperature or pressure.
This is where many beginners (and a few distracted veterans) trip up.
- For water bath canning, your timer starts when the water reaches a full rolling boil—not just a few bubbles.
- For pressure canning, wait until your canner hits the correct pressure level and stays there steadily before you start counting the minutes.
Example:
Let’s say you’re water bath canning peach halves. The recipe says 20 minutes, but you start your timer the second you turn the stove on. Your jars sit in hot water, sure—but not boiling water. They never get hot enough inside, and even if the lids seal, the food hasn’t been safely processed.
Being precise doesn’t mean being perfect—it just means being aware. A good kitchen timer, a trusted recipe, and a little patience are all you really need.
What Is a Full Rolling Boil?
A full rolling boil is when water is boiling so vigorously that the bubbles continue rapidly even when you stir it. You’ll see large, constant bubbles breaking the surface across the entire pot—not just a few at the edges.
You’ll know it’s happening when:
- The whole surface is bubbling hard
- The bubbling doesn’t stop when you stir
- You can hear a steady, energetic boil
This is the point when you start your processing timer for water bath canning—not before!
It’s Worth the Wait
When your kitchen’s a mess, the baby’s crying, and you still haven’t eaten dinner—it’s easy to stare at the canner and think, Does it really need five more minutes? But the answer, every single time, is yes.
1. That extra time is what keeps your food safe on the shelf.
Think of it like the seatbelt in your car—you hope you never need it, but you never skip it.
- Processing time is what protects your hard work from spoilage, dangerous bacteria, and wasted ingredients.
- It gives you confidence that when you open a jar months from now, it’s just as safe and delicious as the day you canned it.
2. You’re learning a timeless skill—and doing it the right way.
Taking the time to follow tested, science-backed methods is something to be proud of.
- You’re not just putting food in jars—you’re feeding your family with care and intention.
- And every jar you process correctly builds your confidence for the next batch.
Example:
Those extra 10 minutes might feel like forever when you’re staring at the stove, but later, when you’re pulling a jar of home-canned applesauce off the shelf for a quick snack or cozy dessert? You’ll be glad you waited. Safe food, lovingly made—it’s always worth it.
S.A.F.E. J.A.R.S.
Here’s a handy acronym to help you remember. Each letter stands for a key step in ensuring safe processing time during canning.
S – Source your recipe from a trusted, tested place
(No guessing—USDA, Ball, or your extension office know their stuff.)
A – Acidity check: Is this a high-acid or low-acid food?
(This determines whether you need a water bath or pressure canner.)
F – Figure out your altitude and adjust time or pressure
(Even a few hundred feet can change the rules!)
E – Exact time for your food and jar size
(Don’t wing it—follow the recommended processing time to the minute.)
J – Just wait until your canner reaches full boil or pressure before timing
(Timing early is like starting a race before the gun goes off.)
A – Avoid shortcuts—no shaving off minutes!
(Even if you’re hangry and the kids are wild—safety first.)
R – Release and cool properly before checking the seal
(Let the jars cool undisturbed to get a strong vacuum seal.)
S – Store only jars that are fully sealed
*(If it didn’t seal, pop it in the fridge and eat it soon!)
Read Next
Water Bath Canning for Beginners: A Simple Step-by-Step Guide
New to canning? Start here! This guide walks you through the water bath process from start to finish, with tips to make your first batch a success.
Pressure Canning for Beginners: A Safe & Simple Step-by-Step Guide
Tackling low-acid foods? This beginner-friendly post will show you exactly how to use your pressure canner safely and confidently.
Oven Canning: Why This is One Trend You Should AVOID!
Seen oven canning recipes online? Here’s why this popular shortcut is unsafe—and what you should do instead.
