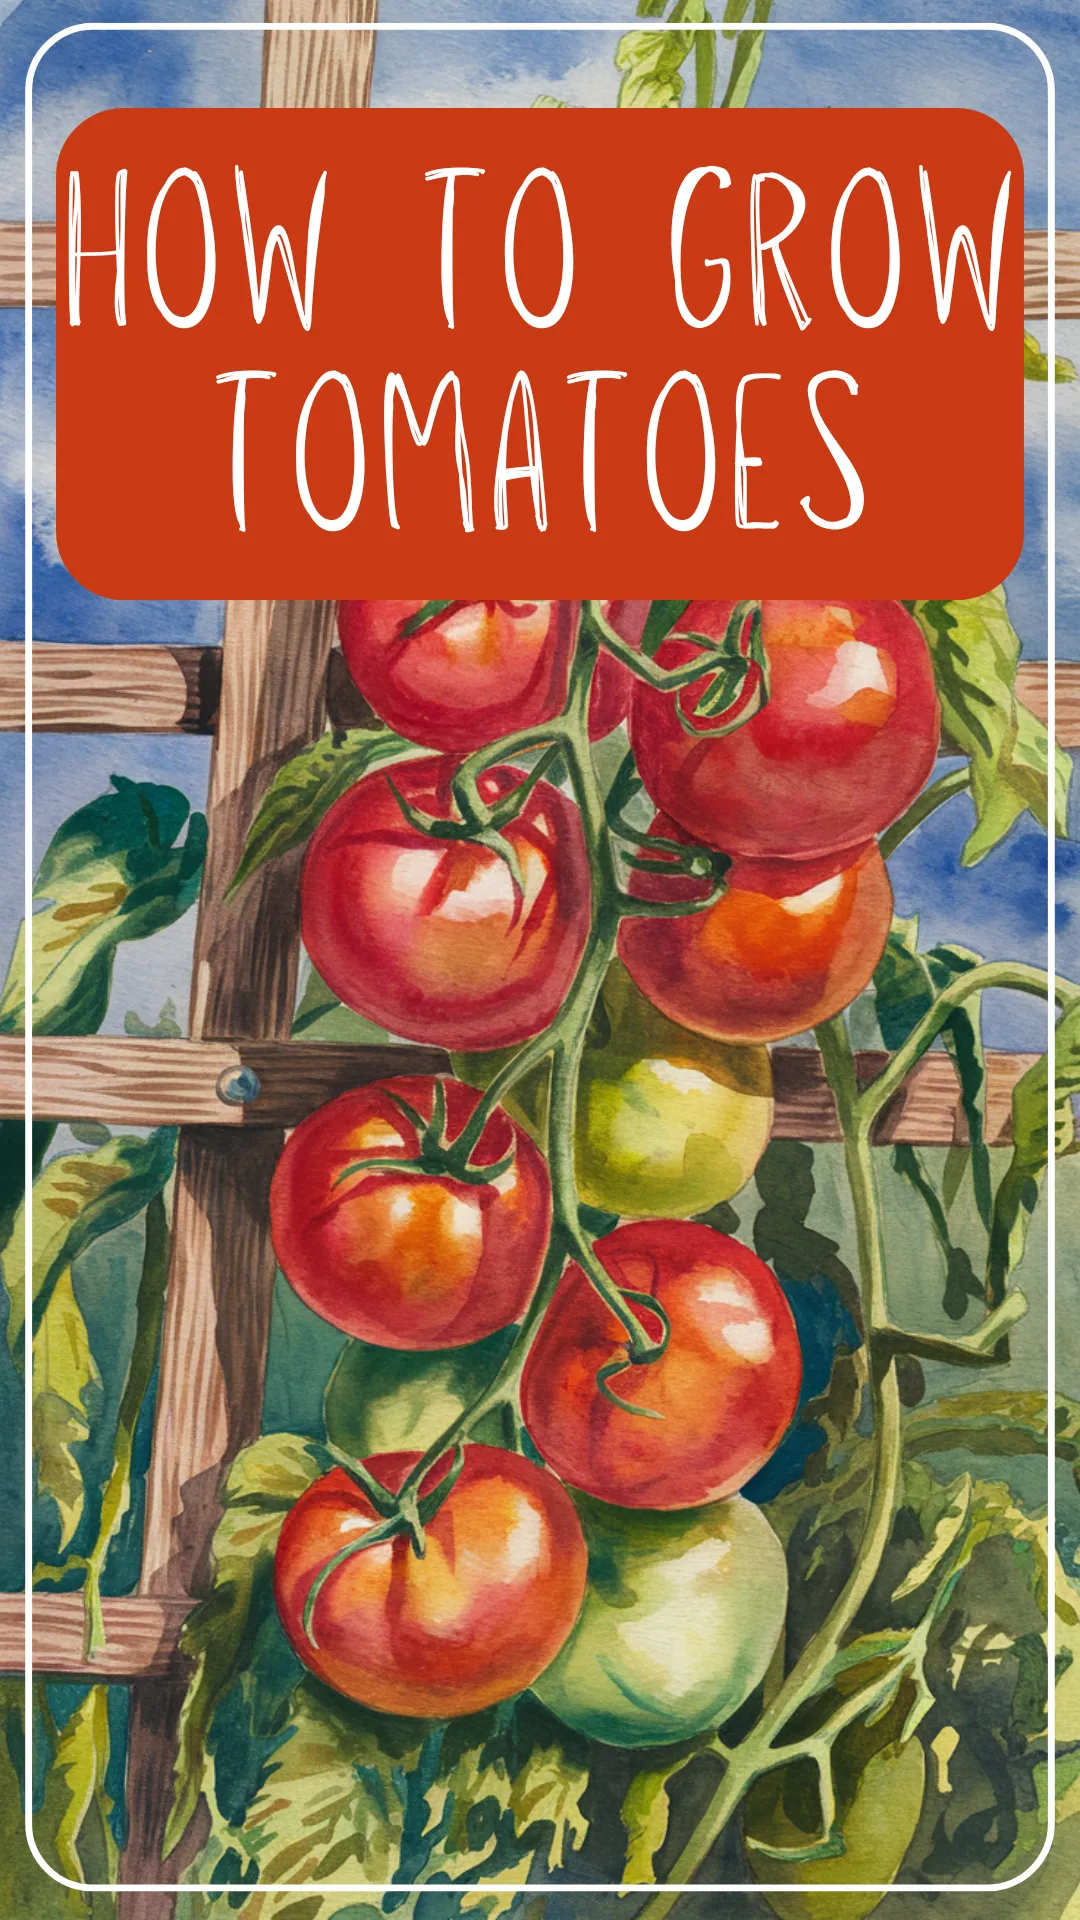
Growing Tomatoes – A Beginner’s Guide to Getting from Seed to Harvest
Dreaming of homegrown tomato sauce? Learn how to grow tomatoes for your self-sufficient canning garden—whether you’re planting in containers, raised beds, or from seed!
Inside this post:
- 1 How to Grow Tomatoes for Your Canning Garden
- 1.1 Why Tomatoes Are a Canning Garden Favorite
- 1.2 Determinate vs. Indeterminate Tomatoes: What’s the Difference?
- 1.3 Where to Grow Tomatoes: Containers, Cages, and Raised Beds
- 1.4 When to Plant Tomatoes
- 1.5 How to Grow Tomatoes from Seed
- 1.6 Can You Save Tomato Seeds for Next Year?
- 1.7 How to Care for Tomato Plants
- 1.8 When and How to Harvest Tomatoes
- 1.9 Troubleshooting Common Tomato Problems
- 1.10 Need Local Help? Your Extension Office Is a Tomato Lifesaver
- 1.11 What to Do With All Those Tomatoes
- 1.12 You’re About to Be the Tomato Queen
How to Grow Tomatoes for Your Canning Garden
If you’re thinking about growing tomatoes for the first time—especially with canning in mind—you’re in for a treat. Tomatoes are one of the most satisfying crops for beginner gardeners. They’re productive, delicious, and there’s something magical about popping the lid off a jar of homegrown tomato sauce in the middle of winter.
In this beginner’s guide, I’ll walk you through everything you need to know to grow your own tomatoes, whether you’re working with a backyard garden, a few containers on the patio, or a DIY tomato jungle of your own.
Why Tomatoes Are a Canning Garden Favorite
Tomatoes are basically the MVP of the canning garden—if you grow just one crop for preserving, this is the one. They’re versatile, productive, and pack so much flavor into every jar.
Here’s why they’re a beginner gardener’s dream:
- High yields – One healthy plant can produce dozens of tomatoes over the season.
- So many ways to preserve them – Think: pasta sauce, salsa, tomato soup, diced tomatoes, whole tomatoes, tomato juice… the list goes on.
- Perfect for water bath or pressure canning – Most tomato recipes can be water bath canned (thanks to their natural acidity), and low-acid varieties or mixed recipes can be pressure canned safely.
- They freeze and dry beautifully too – Great if you’re short on time or jars.
If you’ve got a shelf full of home-canned tomatoes, you can pretty much whip up a homemade dinner any night of the week—and that’s a pretty great feeling.
Determinate vs. Indeterminate Tomatoes: What’s the Difference?
Tomato plants come in two main types—and knowing which one you’re planting will make a huge difference in how you care for them (and how many canning jars you’ll need on standby!).
Determinate Tomatoes
Also called “bush tomatoes,” these plants grow to a certain size, produce their fruit all around the same time, and then call it a day.
- Compact and great for containers or small spaces
- Perfect for canning since you get a big harvest all at once
- Usually don’t need much pruning or staking (though cages are still helpful)
- Good choices: Roma, San Marzano, Celebrity
Indeterminate Tomatoes
These are the wild ones—they just keep growing and producing until frost takes them out.
- Can grow over 6 feet tall—definitely need staking or cages
- Produce tomatoes steadily all season long
- Great for fresh eating, freezing, or smaller-batch canning
- Need regular pruning to stay manageable
- Good choices: Beefsteak, Brandywine, Sungold, Cherokee Purple
Pro tip: A lot of gardeners grow both—determinates for a big canning day, and indeterminates for fresh salads and sandwiches all summer.
Where to Grow Tomatoes: Containers, Cages, and Raised Beds
Tomatoes are sun-loving, heat-happy plants that need space, support, and good airflow to thrive. The good news? You’ve got options—whether you’re working with a balcony or a backyard.
Growing Tomatoes in Containers
- Great for small spaces, patios, or renters
- Choose a container that holds at least 5 gallons (bigger is better!)
- Use a high-quality potting mix and add support early (a cage or stake)
- Best suited for determinate or compact varieties like Patio Princess or Bush Early Girl
- Keep an eye on water—containers dry out fast in the summer heat!
Growing with Cages and Stakes
- Tomatoes—especially indeterminate types—need solid support
- Use tomato cages, stakes, or trellises to keep them off the ground and tangle-free
- Install support at planting time to avoid damaging roots later
- Cage = less pruning. Staking = more airflow and easier harvesting.
Growing in Raised Beds
- Raised beds are tomato heaven—great drainage, warm soil, and room to sprawl
- Plant 2–3 feet apart to allow good airflow
- Mulch well and consider using a drip line for consistent moisture
No matter where you plant them, give your tomatoes plenty of sun (at least 6–8 hours a day), and you’ll be swimming in fruit before you know it.
When to Plant Tomatoes
Tomatoes are a little bit picky about the weather—they hate the cold and love a long, sunny growing season. Getting the timing right is key to strong, productive plants.
When to Plant Outside
- Wait until all danger of frost has passed and nighttime temps stay above 50°F.
- Soil should be at least 60°F—warmer is better for fast root growth.
- Most areas plant tomatoes in late spring, but it varies by zone.
Not sure when to plant in your area?
Check your USDA Planting Zone and look up your last average frost date. And don’t forget—you can always call your local extension office for personalized planting advice.
Starting from Seed Indoors
- Start seeds 6–8 weeks before your last frost date.
- You’ll need a sunny window or grow lights, plus seed-starting mix and trays.
- Transplant seedlings outside after they’ve been hardened off (gradually introduced to outdoor temps over 7–10 days).
Pro tip: If you’re not ready to start from seed, no worries—just grab healthy-looking transplants from a local nursery when the time is right!
How to Grow Tomatoes from Seed
Starting tomatoes from seed isn’t hard—and it gives you way more variety to choose from (hello, heirloom rainbow tomatoes!). Plus, it’s just plain fun to watch those little sprouts grow into big, juicy-producing plants.
What You’ll Need
- Tomato seeds (heirloom or hybrid, your choice)
- Seed-starting mix (light and fluffy—not potting soil)
- Trays or small containers with drainage
- Grow light or a very sunny window
- Plastic dome or cover to keep humidity in (optional but helpful)
Step-by-Step
- Start seeds indoors 6–8 weeks before your last frost date.
- Fill your containers with seed-starting mix and moisten the soil.
- Plant seeds about ¼ inch deep—just a little sprinkle of soil on top.
- Cover and keep warm (70–75°F). A heat mat can speed things up.
- Once seeds sprout (5–10 days), move them under a grow light or to a sunny window.
- Keep the soil lightly moist and rotate pots daily if they’re leaning toward the light.
- When seedlings have 2–3 sets of true leaves, transplant them into bigger pots.
Hardening Off and Planting Outside
- About a week before planting outdoors, harden off your plants by taking them outside for a few hours each day, gradually increasing their time in sun and wind.
- When planting, bury part of the stem (remove lower leaves)—tomatoes can grow extra roots along their buried stems, making them stronger and more drought-tolerant.
Can You Save Tomato Seeds for Next Year?
Yes, you can save tomato seeds—and it’s a great way to build up your own stash of free, home-adapted seeds. But unlike green beans, tomato seeds need a little extra love before they’re ready to store.
Best Seeds to Save
- Stick to heirloom or open-pollinated tomato varieties. These grow true to type year after year.
- Avoid hybrids—they often produce unpredictable results.
How to Save Tomato Seeds (the Fermentation Method)
- Scoop seeds out of a fully ripe tomato (not underripe!).
- Put them in a small jar or cup with a little water.
- Let them ferment for 2–3 days at room temperature. You’ll see a bit of mold—this is normal! It helps remove the gel that inhibits germination.
- Rinse the seeds well in a strainer and spread them on a paper towel or coffee filter to dry completely (a few days).
- Store in a paper envelope or airtight jar in a cool, dark place.
Don’t forget to label them with the variety and year. Future you will appreciate it.
How to Care for Tomato Plants
Once your tomato plants are in the ground (or pots), it’s all about giving them the right support—literally and figuratively. A little attention along the way = big harvests later on.
Watering
- Water deeply and consistently—1–2 inches per week, depending on heat and soil.
- Water at the base of the plant to avoid leaf diseases.
- Avoid letting soil dry out completely between waterings (hello, cracked tomatoes).
Mulching
- Add 2–3 inches of mulch (straw, leaves, or untreated grass clippings) around the base of the plant.
- Helps retain moisture, block weeds, and prevent soil splash (which can spread disease).
Fertilizing
- Tomatoes are hungry! Use a balanced fertilizer when planting, then switch to a low-nitrogen, high-phosphorus fertilizer once they start flowering.
- Over-fertilizing = lots of leaves, not many fruits.
Pruning (for Indeterminates)
- Remove suckers (the little shoots that grow between the main stem and a branch) to direct energy into fruit production.
- Keep the lower 6–8 inches of the plant clear of leaves to improve airflow and prevent disease.
Supporting Your Plants
- Add cages, stakes, or trellises early—don’t wait until they’re flopping over.
- Tie stems loosely to supports using twine, strips of fabric, or stretchy plant ties.
Tip: Tomatoes love heat and sun—give them 6–8 hours of direct sunlight daily for the best results.
When and How to Harvest Tomatoes
There’s nothing quite like that first homegrown tomato—sun-warmed, juicy, and so much better than anything store-bought. The key is knowing when to pick and how to do it without damaging your plant.
When to Harvest
- Pick when tomatoes are fully colored (red, yellow, orange, etc.—whatever the variety!) and just slightly soft to the touch.
- If your weather turns wet or cold, you can pick them slightly underripe and let them finish ripening indoors.
- Some heirlooms stay a little green at the shoulders—that’s normal for certain varieties.
How to Harvest
- Gently twist the tomato until it snaps off, or use garden scissors/snips for clean removal.
- Be careful not to pull too hard—you don’t want to tear the stem or damage the plant.
Fun fact: Tomatoes that ripen on the vine really do taste better. If you’re using them for canning, you can let them fully ripen indoors and process in batches.
Troubleshooting Common Tomato Problems
Tomatoes are the drama queens of the garden. One day they’re thriving, the next you’ve got curled leaves and a caterpillar the size of a sausage. Don’t panic—most issues are common, and totally fixable.
Blossom End Rot
- Brown, sunken spot on the bottom of the fruit
- Caused by inconsistent watering or calcium deficiency
- Fix: Keep watering steady, mulch well, and avoid over-fertilizing with nitrogen
Leaf Curl
- Leaves curling inward? Could be heat stress or wind
- If no pests are present and the plant looks healthy otherwise, it’s usually fine
- Fix: Keep plants watered and mulched; shade temporarily during heatwaves if needed
Splitting or Cracking
- Caused by sudden heavy rain after dry weather
- Fix: Water consistently and harvest ripe fruit quickly to prevent splitting
Tomato Hornworms
- Big green caterpillars that can strip a plant overnight
- Fix: Hand-pick and relocate (or, let’s be real, squish), or use organic BT spray
Aphids
- Tiny green or black bugs on stems and leaves
- Fix: Spray with a strong blast of water or use insecticidal soap
Pollination Problems
- Flowers drop but no fruit forms? Could be too hot, too humid, or not enough pollinators
- Fix: Gently shake the plant or use a soft brush to help move pollen
Most tomato issues can be solved with steady watering, good airflow, and a little patience.
Need Local Help? Your Extension Office Is a Tomato Lifesaver
Tomatoes are a common crop, but growing conditions can vary a lot depending on where you live. If you’re stumped by a weird issue, unsure what variety to try next year, or just want a second opinion, your local extension office is a goldmine of help.
They can assist with:
- Timing for planting in your exact area
- Variety recommendations for your climate
- Soil testing and improvement tips
- Pest and disease ID (with photos!)
- Gardening classes and free resources
Need help finding yours? We’ve got a handy guide to locating your local extension office—they’re friendly, free, and full of garden wisdom.
What to Do With All Those Tomatoes
Once your plants start producing, it can go from zero to “why do I have 34 tomatoes on my counter?” real fast. But don’t worry—you’ve got options:
- Water bath canning – Perfect for crushed tomatoes, salsa, marinara, and tomato jam
- Pressure canning – Ideal for mixed recipes, low-acid tomatoes, or anything with meat/veggies
- Freezing – Core and freeze whole or as sauce for easy weeknight dinners
- Drying – Make homemade sun-dried tomatoes in a dehydrator or low oven
- Give them away – Neighbors will never say no to a jar of home-canned sauce (or a ripe heirloom for BLTs!)
You’re About to Be the Tomato Queen
Growing tomatoes for the first time might feel a little overwhelming (especially when they start taking over your garden like a jungle gym), but once you taste that first sun-ripened tomato or open a jar of homemade sauce mid-winter? Totally worth it.
Whether you’re growing a few patio plants or going all in with rows of sauce tomatoes, you’ve got this. Start with the right variety, give them a little love and support, and don’t be afraid to ask for help—your future self (and your pasta nights) will thank you.
Need help planning the rest of your canning garden? Head back to our Planning Your Canning Garden series for more beginner guides and helpful tips.