How to Create a Canning Pantry That Actually Works
Some women dream about a walk-in closet full of shoes. Then there are those of us who dream about a walk-in pantry lined with jars of home-canned food — shelves glowing with summer peaches, tomato sauce, and jam that tastes like sunshine.
A canning pantry is more than storage. It’s a kind of quiet comfort — proof that all those hours in the kitchen were worth it. Whether yours is a corner shelf or a full room, it becomes the heart of your home’s rhythm.
The good news? You don’t need a farmhouse or a root cellar to create one. With a little planning and care, anyone can build a canning pantry that keeps food safe, organized, and ready for every season.
Inside this post:
- 1 Why a Canning Pantry Matters
- 2 Choosing the Right Location
- 3 Planning Your Shelving and Storage
- 4 Organizing Your Jars
- 5 Temperature, Light, and Humidity Tips
- 6 Making the Space Pretty (and Functional)
- 7 Keeping Inventory
- 8 Troubleshooting Common Issues
- 9 Encouragement for Beginners
- 10 Bringing It All Together
Why a Canning Pantry Matters
A canning pantry gives you more than full shelves. It gives you peace of mind. When life feels uncertain, those jars remind you that you’ve already taken care of something important — you’ve fed your family with your own two hands.
It’s also practical. A dedicated space keeps your jars safe from light, heat, and humidity. It helps you plan meals, track what you’ve used, and avoid waste. Everything has its place, and everything stays easy to find.
And there’s something deeply nostalgic about it. Our grandmothers may not have known the science behind safe canning, but they understood the satisfaction of putting food by for winter. When you create your own canning pantry, you carry that tradition forward — with modern know-how and the same sense of pride.
Choosing the Right Location
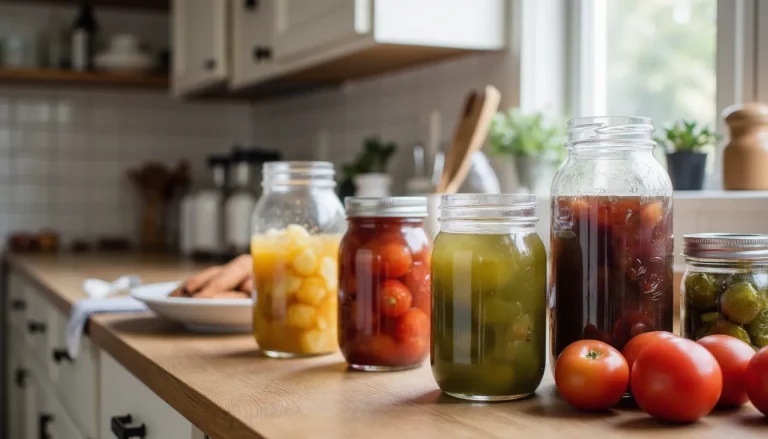
Before you line up your jars, take a moment to choose the right spot for them. Where you store your home-canned food matters more than most people realize. The right location helps your jars stay sealed, your food stay safe, and your shelves stay strong for years to come.
Look for a space that’s cool, dark, and dry. Those three things do the heavy lifting when it comes to keeping canned food fresh. Aim for a steady temperature between 50 and 70°F. Too much warmth can make the seals fail, while cold or damp air encourages rust and mold.
Light is another quiet troublemaker. Even a bit of sunshine can fade the color of peaches or turn your pickles dull. A shaded corner or cupboard will keep them looking — and tasting — like summer.
You’ll also want to think about airflow. A little space around your jars helps prevent musty smells and keeps condensation at bay.
Here are a few good places to consider:
- Basement or cellar: Naturally cool and dark, but check for damp spots.
- Interior cupboard or closet: Perfect for smaller collections. Just steer clear of spots near ovens, water heaters, or dryers.
- Utility or laundry room: A fine choice if the temperature stays fairly steady all year.
- Garage or shed: Only works in mild climates — extreme heat or freezing temps can ruin the food.
And a few spots to skip:
- Attics and uninsulated outbuildings — too hot in summer, too cold in winter.
- Under sinks or near plumbing — moisture and drips can rust lids.
- Right on concrete floors — raise jars slightly on a wooden board or mat to protect them from condensation.
Choose a space that feels easy to reach and safe from bumps or little hands. Once you’ve found that spot, you’re ready to think about how to build shelves that can hold the weight and still look lovely.
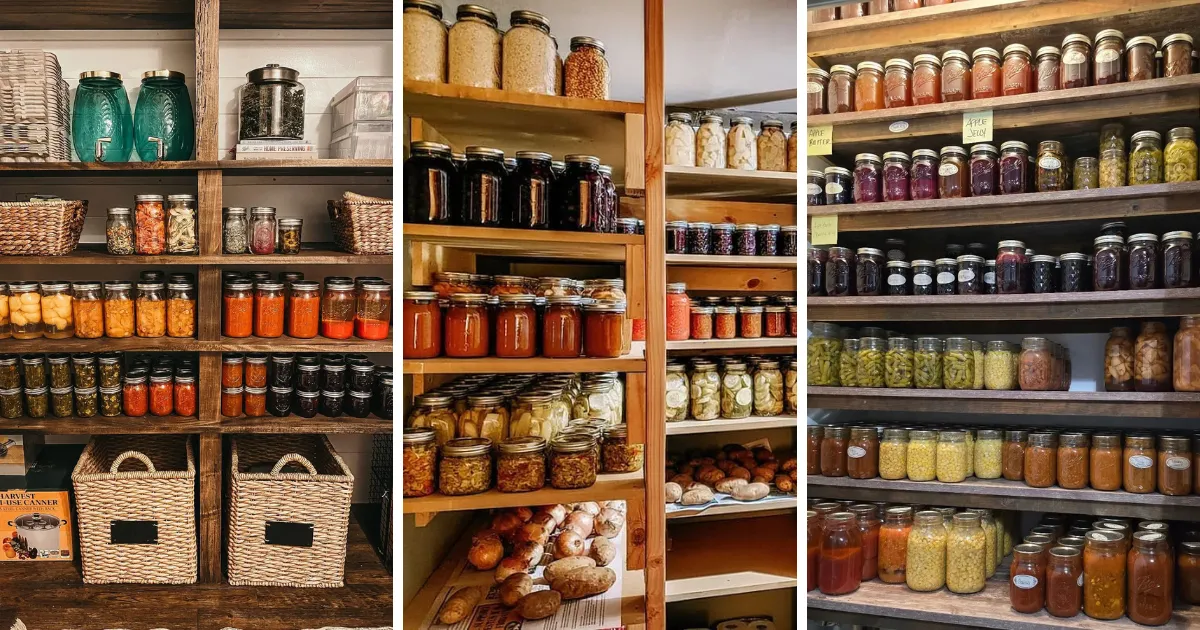
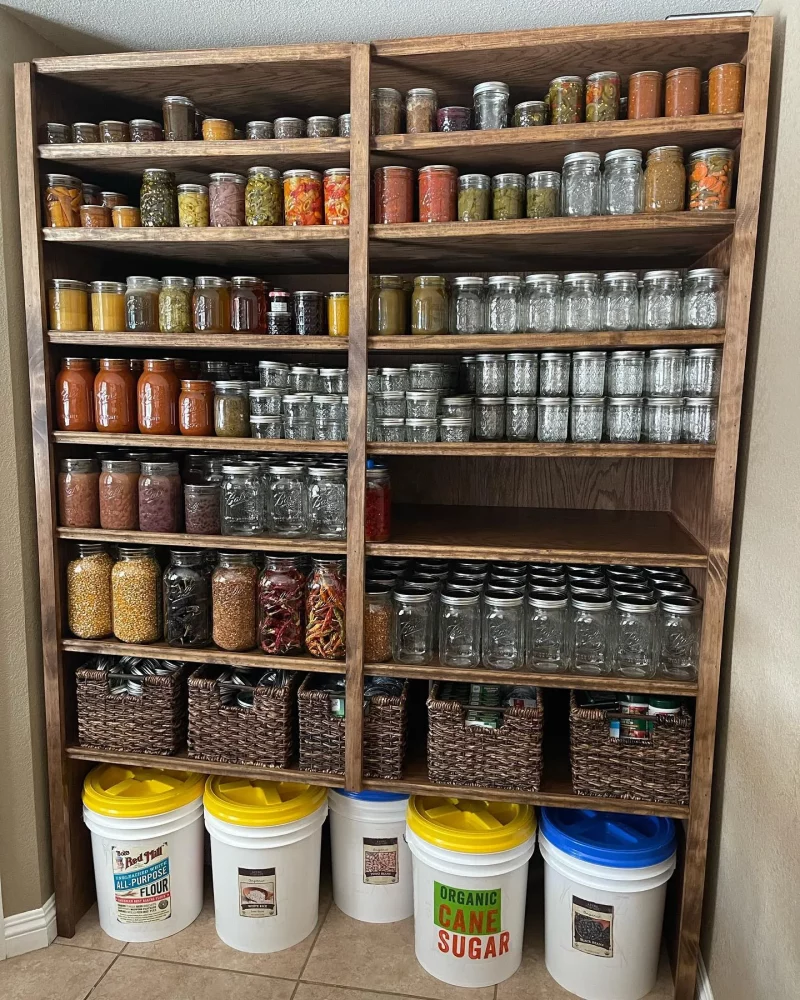
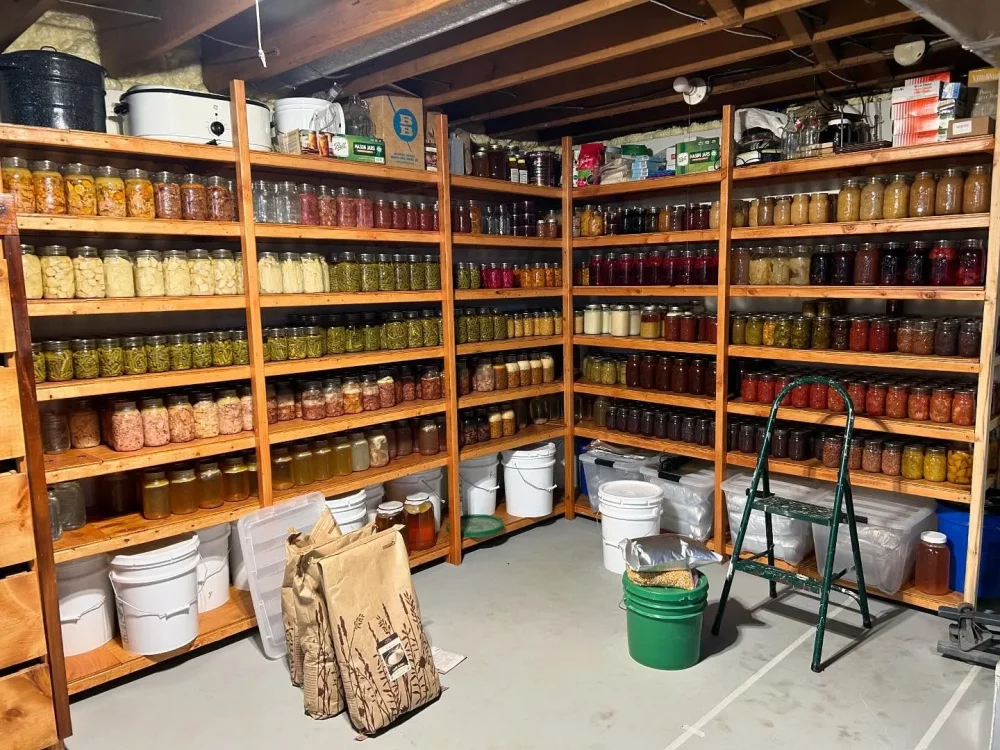
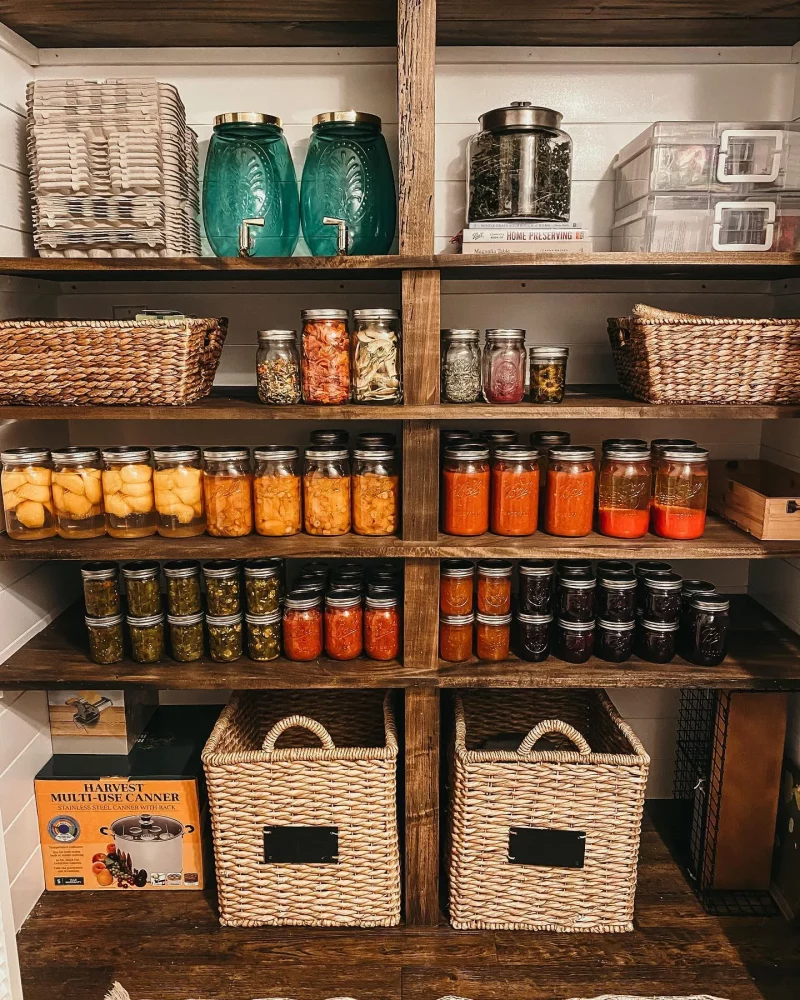
Planning Your Shelving and Storage
Once you’ve chosen the right spot, the next step is making sure your shelves can handle the job. Canning jars are heavier than most people expect — especially when you start stacking them by the dozen. Good shelves aren’t a luxury here; they’re a safety measure.
Look for shelving that’s sturdy, level, and secure. Wood and metal are both excellent choices. Avoid particleboard or plastic that might warp over time. If you’re building your own, use thick boards and add center supports so the shelves don’t bow.
Adjustable shelves are helpful if you can find them. They make it easy to fit tall quart jars and short jelly jars without wasting space. If your shelves are fixed, just make sure there’s enough clearance to lift jars in and out comfortably.
You don’t need to buy a fancy setup to get started. A repurposed bookcase, an old cabinet, or even simple boards and brackets can work beautifully — as long as they’re strong and stable.
Keep a few practical things in mind:
- Leave space between jars for airflow and easy cleaning.
- Don’t stack jars directly on top of each other.
- Line shelves with cardboard or non-slip matting to cushion jars.
- Add a small wooden lip or rail if you want extra protection from sliding.
Think of your canning shelves as working shelves — not museum pieces. They should be easy to clean, strong enough to hold the weight, and arranged so you can see at a glance what you have. And if you enjoy making them pretty too, that’s just a bonus.
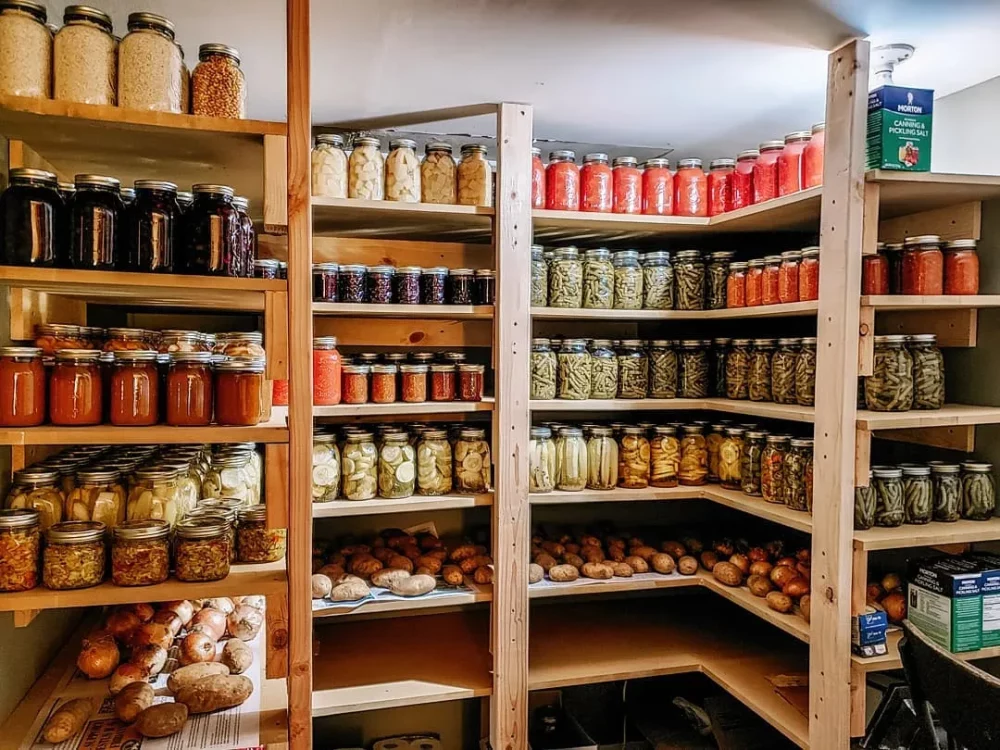
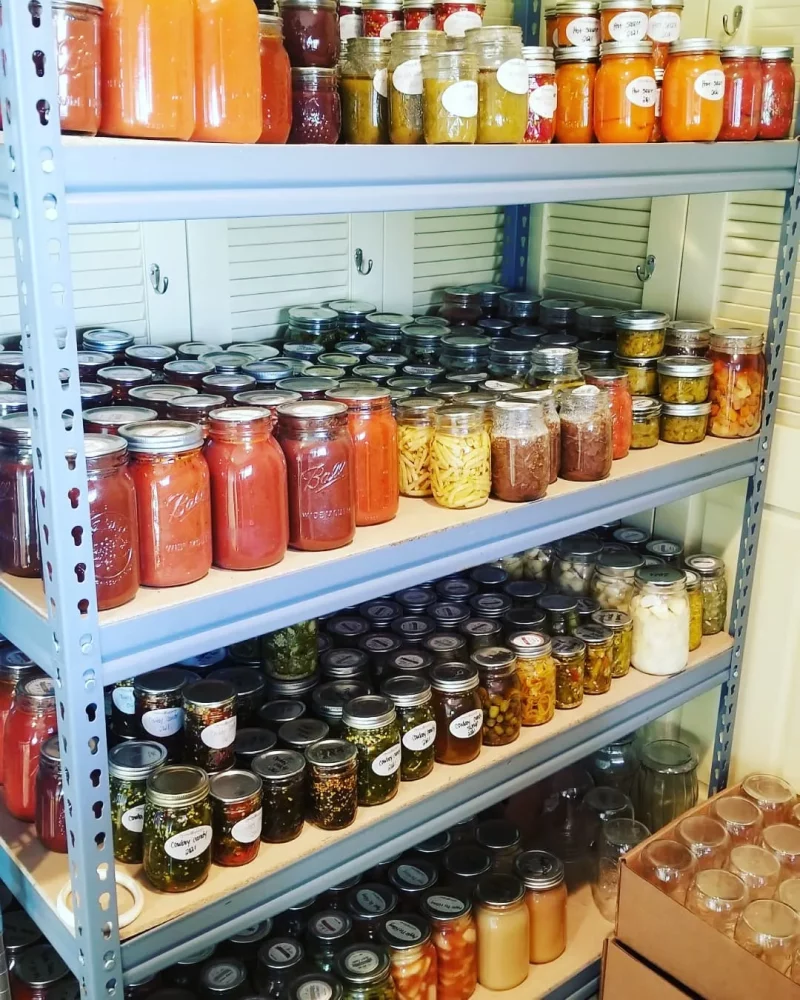
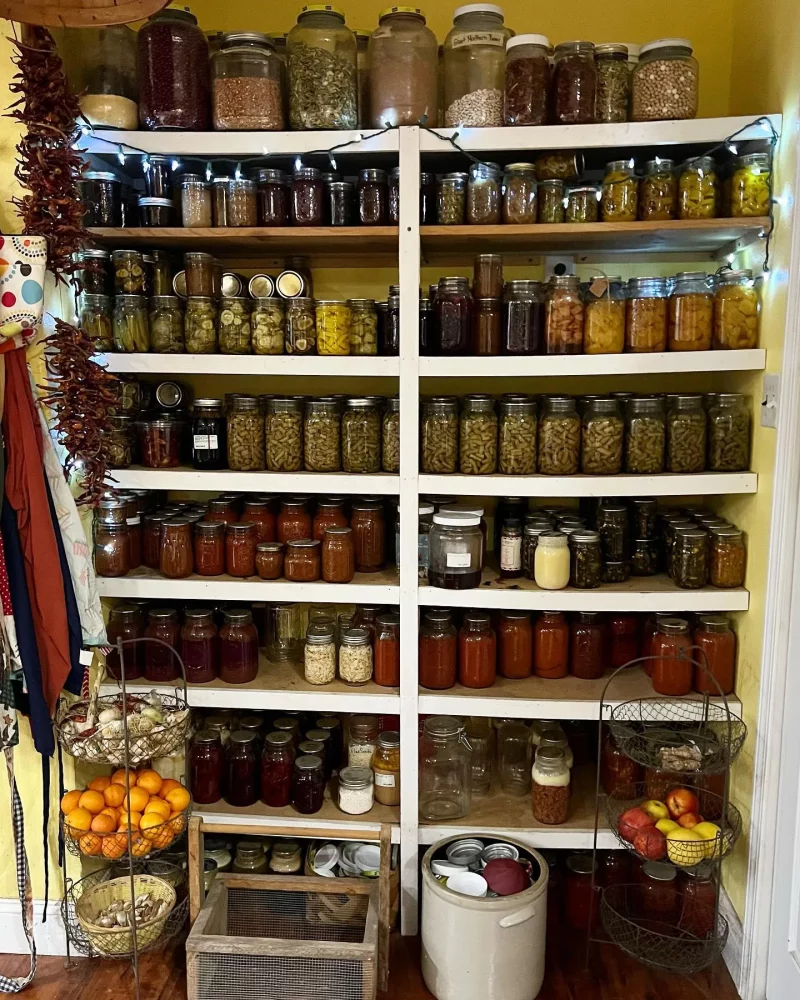
Organizing Your Jars
A well-organized pantry saves time, keeps food safe, and helps you actually use what you’ve canned. The goal isn’t perfection — it’s being able to find what you need when supper’s half an hour away and the kids are already asking what’s for dinner.
Start by grouping your jars in a way that makes sense to you. There’s no single right system — just the one you’ll actually stick with.
You might sort them:
- By type of food: fruits, vegetables, soups, sauces.
- By meal type: breakfast jams, dinner starters, side dishes.
- By season: early summer berries, late-summer tomatoes, fall apples.
- By processing method: water bath vs. pressure canned.
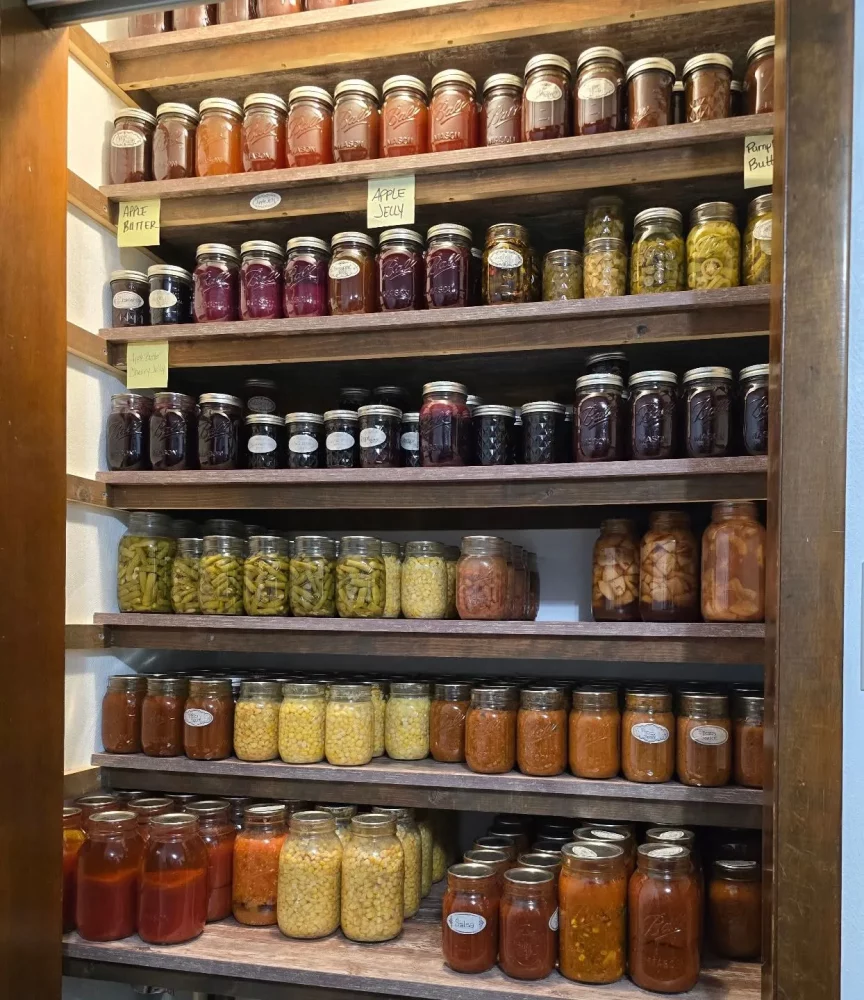
Labeling Tips
Labels are your best friend when jars start to look similar under dim light.
- Always include the contents and the date.
- Add a batch note if you can.
- Permanent marker on the lid works fine, or you can use stick-on labels.
- If labels fall off, write directly on the glass and clean it off next time.
Keep It Safe
- Store jars upright — never on their sides.
- Don’t stack jars unless absolutely necessary.
- Leave a little space between jars for air circulation.
- Rotate regularly — first in, first out.
Once you’ve got a rhythm, your pantry will start to feel like a living thing — one that grows and shifts with the seasons. You’ll quickly learn which jars disappear fastest and which ones linger until spring. That’s all part of the learning.
Temperature, Light, and Humidity Tips
Once your shelves are filled, the job isn’t quite done. How you store those jars from day to day matters just as much as how you canned them.
Canned food likes consistency. Aim for a steady temperature between 50 and 70°F. A little fluctuation is fine, but big swings can cause lids to loosen and food to spoil.
If your pantry gets too warm, block direct sunlight or use a fan to move air. In colder climates, protect jars from freezing by keeping them away from exterior walls or adding insulation.
Even small amounts of sunlight can fade color and flavor, especially in fruit. Keep jars out of bright light, and if your pantry has windows, use curtains or frosted panels to keep it dim.
Moisture is the quiet enemy of canned food. Too much humidity leads to rusty lids, sticky jars, and moldy shelves. If your space feels damp, add a dehumidifier, use moisture absorbers, and leave space between jars for airflow.
Check your pantry every so often. Wipe down shelves, look for rust, and make sure seals are still tight. A few minutes of care now can save a shelf full of spoiled food later.
Making the Space Pretty (and Functional)
There’s something deeply satisfying about a row of neatly labeled jars. You’ve put in the work — it’s only natural to want the space to look as good as it feels.
Start with clean shelves, clear labels, and well-spaced jars. Add beauty with warmth and texture rather than clutter.
Try wooden crates or baskets for small jars and extra lids. Glass jars for dry goods keep things looking tidy. Fabric covers or handwritten tags add a touch of charm. A soft lamp can make even a corner pantry glow.
Add personality if you like — a framed recipe card, a sprig of dried herbs, a little enamel jug. But don’t chase perfection. A canning pantry is meant to be used. Let it tell the story of real meals and real seasons.
Keeping Inventory

Once your shelves start to fill, it’s easy to lose track of what’s hiding at the back. A simple inventory keeps you organized and helps you plan for next year.
Write down what you’ve canned, when, and how much. Update it when you grab a jar. You can use:
- A notebook or binder.
- A printable inventory sheet.
- A whiteboard or chalkboard near the pantry.
- A digital list or spreadsheet.
Add a section for notes — which recipes your family loved, which ran out too soon, what you’ll make again. Over time, your list becomes a little record of your kitchen life — a history of jars, meals, and memories.
Troubleshooting Common Issues
Even the best-planned canning pantry needs a little upkeep. Over time, shelves can sag, labels peel off, or dampness creeps in. None of it means you’ve done anything wrong — it just means your pantry is alive and working.
If shelves start to bend, add a support beam or bracket underneath. For peeling labels, switch to freezer tape or write directly on the lid.
Rusty lids or sticky rings usually mean the space is too damp — wipe jars clean, dry the shelves, and add a moisture absorber or fan. If colors fade or seals fail, the space may be too warm or bright — hang a curtain or move shelves away from heat sources.
If you ever notice musty smells or mold, empty the space, clean it with vinegar, and let it dry before restocking. A bit of fresh air goes a long way.
With a few simple checks each season, your canning pantry will stay safe, tidy, and ready for the next harvest.
Encouragement for Beginners
If you’re just starting out, don’t worry about making it perfect. Every pantry begins with a few jars and a bit of determination.
Maybe yours is a single shelf this year. That’s enough. You’re building something steady — a habit, a rhythm, a bit of security for your family. Over time, your shelves will fill, your system will settle, and your confidence will grow with every batch.
And one day, you’ll open the door and see rows of jars catching the light — and you’ll know it’s all been worth it. That’s the real heart of a canning pantry.
Bringing It All Together
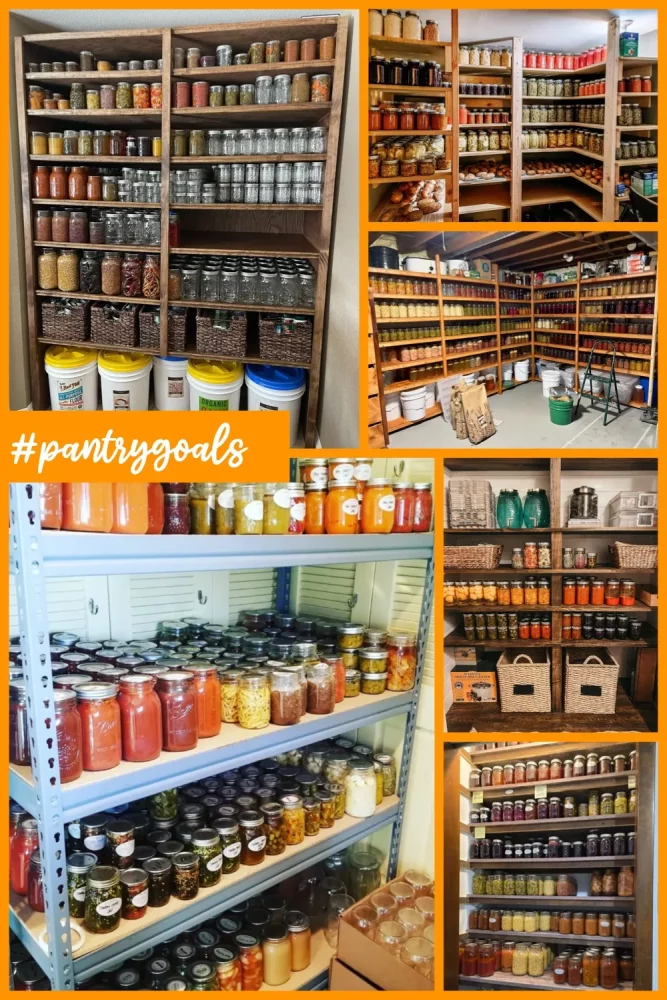
Creating a canning pantry isn’t just about storage — it’s about building confidence and self-reliance one jar at a time. Every shelf tells a story of what you’ve grown, gathered, or saved for your family. It’s proof that starting small can lead to something deeply meaningful.
If you’re ready to keep learning, you might enjoy these next steps:
- Water Bath vs. Pressure Canning: What’s the Difference?
- Planning Your Canning Garden: Grow What You Love to Preserve
Wherever you’re starting from, remember — this is the quiet joy of doing it yourself, one shelf and one season at a time.