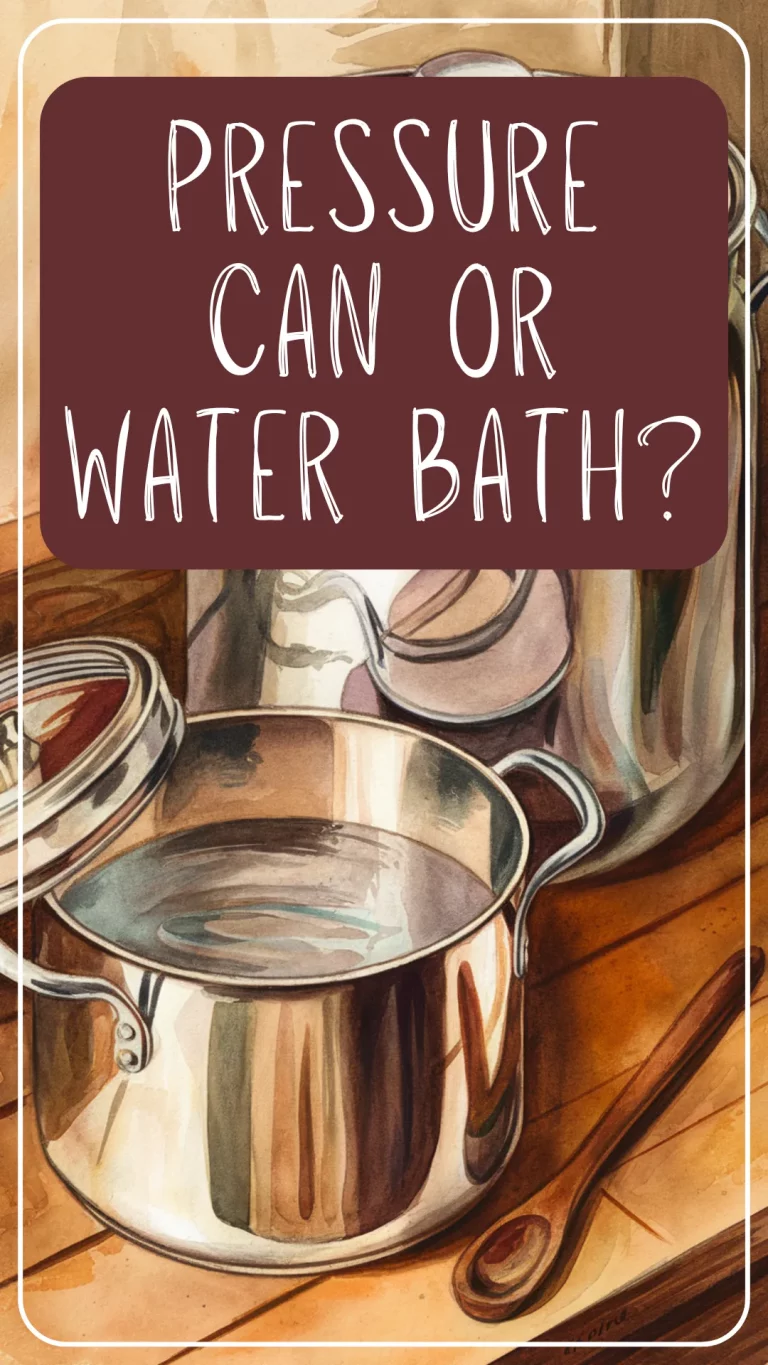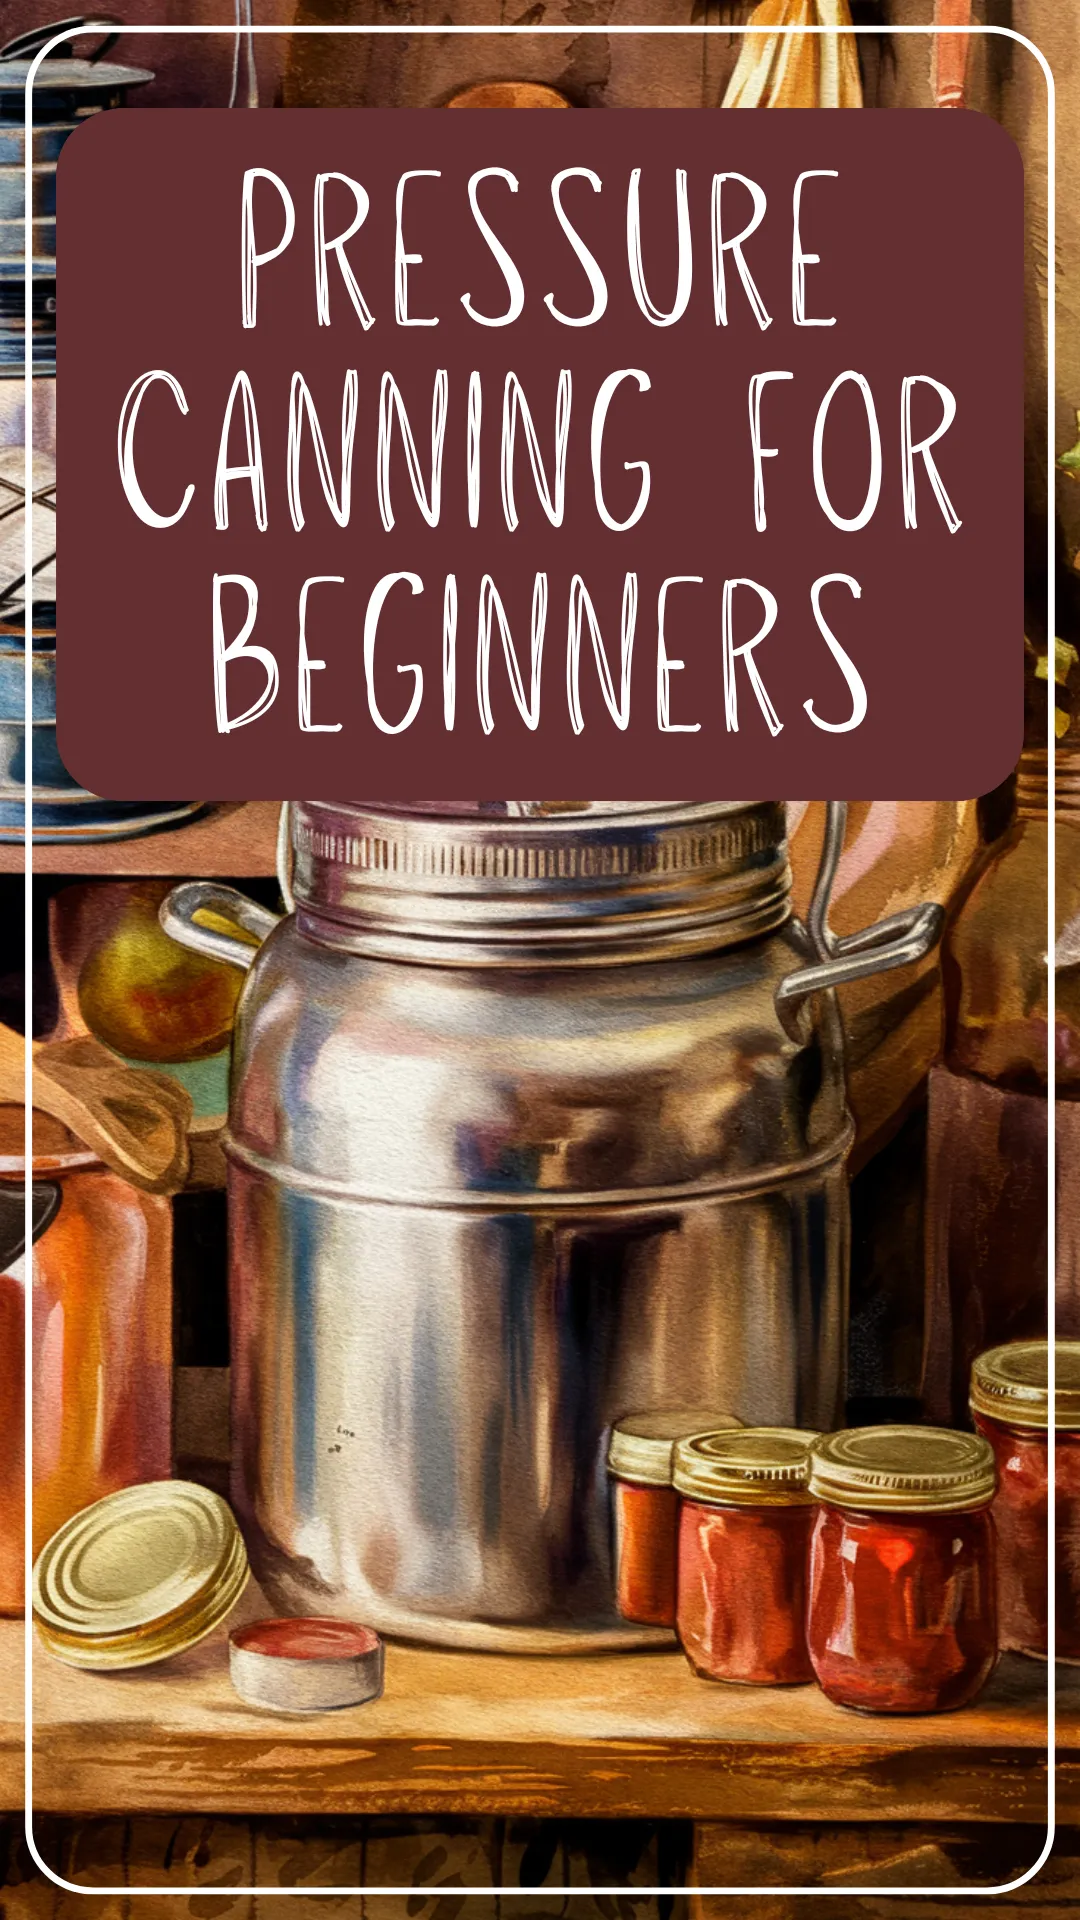
Pressure Canning for Beginners: A Safe & Simple Step-by-Step Guide
Want to can vegetables, soups, and meats at home? This beginner’s guide to pressure canning covers everything you need to know—equipment, safety, step-by-step instructions, and easy recipes to get started!
Inside this post:
- 1 Pressure Canning for Beginners
- 1.1 What Is Pressure Canning?
- 1.2 Pros and Cons of Pressure Canning
- 1.3 What Foods You Can Pressure Can
- 1.4 Pressure Canning Supplies You’ll Need
- 1.5 Where to Find Safe & Tested Recipes
- 1.6 Pressure Canning Safety 101
- 1.7 How to Pressure Can: Step-by-Step
- 1.7.1 1. Prep Your Jars and Ingredients
- 1.7.2 2. Fill the Jars
- 1.7.3 3. Add Water to the Canner
- 1.7.4 4. Load the Jars into the Canner
- 1.7.5 5. Vent the Steam
- 1.7.6 6. Bring to Pressure
- 1.7.7 7. Process for the Recommended Time
- 1.7.8 8. Turn Off the Heat and Let the Canner Cool Naturally
- 1.7.9 9. Remove the Jars
- 1.7.10 10. Check Seals and Store
- 1.8 Rules You Really Need to Follow
- 1.8.1 1. Use a Pressure Canner (Not a Pressure Cooker)
- 1.8.2 2. Follow a Tested Recipe Exactly
- 1.8.3 3. Adjust for Altitude
- 1.8.4 4. Vent the Canner for 10 Minutes
- 1.8.5 5. Start Your Timer Only When at Full Pressure
- 1.8.6 6. Never Force the Lid Open
- 1.8.7 7. Don’t Reuse Lids for Canning
- 1.8.8 8. Let Jars Cool Undisturbed
- 1.9 Beginner-Friendly Recipes to Try First
- 1.10 Common Mistakes to Avoid
- 1.11 Pressure Canning FAQs
- 1.11.1 What’s the difference between a pressure canner and a pressure cooker?
- 1.11.2 Can I reuse old lids?
- 1.11.3 Why can’t I can creamy soups, flour-thickened stews, or pasta?
- 1.11.4 My pressure dropped mid-process—now what?
- 1.11.5 How do I know if my pressure canner is working correctly?
- 1.11.6 Can I pressure can more than one kind of food in a batch?
- 1.11.7 My cans didn’t seal – now what do I do?
- 1.12 You’re Ready to Start Pressure Canning!
Pressure Canning for Beginners
A Straightforward Guide to Safely Preserving Low-Acid Foods at Home
If you’ve mastered jam and pickles and are ready to preserve things like green beans, soups, or even chili—pressure canning is your next kitchen adventure! And while it might sound a little intimidating at first (steam! gauges! botulism?!), don’t worry—you’re not alone, and it’s actually a lot simpler than it seems.
This guide is made just for beginners who want to safely preserve low-acid foods that can’t be processed in a water bath canner. You’ll learn how pressure canning works, what foods it’s best for, what tools you’ll need, and step-by-step instructions to get started the right way.
Once you get the hang of it, you’ll be filling your shelves with hearty, homemade goodness—and feeling like an absolute pantry rockstar while you’re at it.
What Is Pressure Canning?
Pressure canning is a method of home food preservation used for low-acid foods—like vegetables, beans, meats, and soups—that can’t be safely processed using boiling water alone. Unlike water bath canning, which relies on acidity and boiling temperatures, pressure canning uses steam under pressure to reach temperatures of 240°F (or higher), which is necessary to destroy harmful bacteria, especially Clostridium botulinum.
Here’s how it works:
- Food is packed into jars and sealed with canning lids.
- Jars are placed in a pressure canner (not a pressure cooker!).
- As the canner heats up, it’s vented to remove air, then pressurized.
- The jars are processed at a specific pressure (measured in pounds per square inch or PSI) for a set amount of time.
- Once done, the canner cools naturally before jars are removed and sealed.
Because botulism is a real risk with low-acid foods, pressure canning is the only safe method for preserving them at home. But don’t let that scare you—follow the rules, and it’s a safe, reliable, and incredibly satisfying way to preserve real meals for later.
Pros and Cons of Pressure Canning
Pressure canning opens up a whole new world of pantry possibilities—hello, homemade soup, stew, and shelf-stable green beans! But it’s a little different than water bath canning, so here’s what to expect before diving in:
Pros:
- Safe for low-acid foods – This is the only approved method for preserving foods like meat, beans, and vegetables.
- Great for meal prepping – You can stock your shelves with ready-to-go ingredients or full meals.
- Long shelf life – Properly canned pressure foods can last a year or more when stored well.
- More food options – You’re not limited to just jams and pickles—you can can hearty, nourishing meals!
- Big-batch friendly – Ideal for preserving garden harvests or bulk cooking.
Cons:
- Takes a little practice – Timing, venting, and maintaining pressure all have a learning curve.
- Requires special equipment – You’ll need a proper pressure canner (not just an Instant Pot!).
- Takes longer – From heat-up to cool-down, pressure canning takes more time per batch.
- No dairy, thickeners, or pasta allowed – These don’t can safely, so recipe options have limits.
If you’re up for the challenge, pressure canning is 100% doable for beginners—especially if you start with simple recipes like beans or broth. You’ll get the hang of it in no time!
What Foods You Can Pressure Can
Unlike water bath canning, which is limited to high-acid foods, pressure canning is your go-to method for preserving low-acid foods—the ones that could grow dangerous bacteria if not processed at a higher temperature. This means pressure canning opens the door to hearty vegetables, savory broths, and even full meals!
Here’s what you can safely pressure can:
Low-Acid Vegetables
- Green beans
- Carrots
- Corn
- Potatoes (peeled and cubed)
- Beets
- Mushrooms
- Mixed vegetables (in water, broth, or tomato juice)
Legumes & Beans
- Black beans
- Pinto beans
- Kidney beans
- Chickpeas (garbanzo beans)
- Navy beans
(Soaked and cooked partially before canning)
Meat & Poultry
- Chicken (boneless or bone-in)
- Beef chunks or stew meat
- Pork (roasts, chops, shoulder)
- Ground meats (pre-browned)
- Sausage (without fillers or casings)
- Turkey or game meat
Soups & Stews
- Chili (without thickeners or dairy)
- Vegetable soup
- Chicken soup
- Beef stew (follow tested recipes!)
(No pasta, cream, milk, or flour allowed!)
Stocks and Broths
- Chicken stock
- Beef or pork bone broth
- Vegetable broth
Important Note:
You cannot pressure can:
- Anything thickened with flour, cornstarch, or roux
- Foods with cream, milk, or cheese
- Pasta or rice (they break down and may interfere with safe processing)
- Purees like pumpkin butter (use only tested pumpkin cubes, not mashed)
Start with one-ingredient foods like green beans or beans-in-jars before trying full recipes. Once you get the hang of it, pressure canning gives you so much freedom to preserve real food that’s ready when you are.
Pressure Canning Supplies You’ll Need
Pressure canning might sound like it requires a whole new kitchen setup—but you really only need a few key items to get started. If you’ve been water bath canning already, you probably have a lot of the basics covered!
Must-Have Supplies
- Pressure Canner – This is the star of the show. You’ll need either:
- A dial gauge canner (needs annual testing to stay accurate), or
- A weighted gauge canner (uses weights instead of a dial and doesn’t require testing)
Brands like Presto and All American are super popular and reliable.
- Mason Jars with Lids and Bands – Stick to jars made for home canning. Use new lids every time; bands can be reused.
- Jar Lifter – Lets you safely move hot jars in and out of the canner.
- Wide-Mouth Funnel – Makes filling jars way less messy (and helps you hit that headspace mark more easily).
- Bubble Remover or Spatula – Gently releases air pockets from jars before sealing.
- Kitchen Timer – Precision is key with pressure canning—you can’t eyeball the time.
- Clean Towels or Cooling Rack – For setting hot jars out to cool.
Nice-to-Have Extras
- Magnetic Lid Lifter – Keeps your fingers out of hot water when handling lids.
- Headspace Measuring Tool – Built into most canning kits; makes jar-filling easier and more accurate.
- Canning Kit Bundle – These often include everything above in one box and are usually affordable.
Important Note:
A pressure cooker (like an Instant Pot) is not the same as a pressure canner. Most electric pressure cookers are not safe or approved for canning by the USDA. Make sure you’re using the real deal!
Once you’ve got your canner and your jars, you’re basically ready to roll.
Where to Find Safe & Tested Recipes
When it comes to pressure canning, following a tested recipe is non-negotiable. Unlike regular cooking, pressure canning is all about safety—you’re preserving low-acid foods that must be processed at the right pressure, for the right amount of time, with the right ingredients.
The good news? There are plenty of excellent, science-backed recipes out there that are both safe and delicious.
Trusted Sources for Pressure Canning Recipes:
- USDA Complete Guide to Home Canning – This is the gold standard for safe canning instructions, available online for free.
- National Center for Home Food Preservation (nchfp.uga.edu) – Offers detailed recipes and processing charts.
- Ball Blue Book Guide to Preserving – A classic resource packed with step-by-step photos and safe recipes.
- University Extension Services – Search your state’s extension office website (many have pressure canning guides and tested soup/stew recipes).
- Ball® and Kerr® websites – Modernized, safe recipes for pressure canning meats, beans, and more.
What to Avoid:
- Family recipes handed down without safety updates
- Pinterest, TikTok, or YouTube recipes with no source or processing times
- Blogs that skip steps or say “I’ve done this for years and never had a problem”
- Anything using flour, milk, or pasta unless it’s from a USDA-tested resource (spoiler: they don’t exist)
Stick with trusted recipes, and pressure canning becomes a safe and satisfying way to stock your pantry with real, wholesome food.
Pressure Canning Safety 101
Pressure canning is incredibly rewarding—but unlike water bath canning, it’s non-negotiable when it comes to safety rules. Low-acid foods can harbor Clostridium botulinum, the bacteria that causes botulism. It’s rare, but serious—so we want to play by the book (and it’s honestly not as scary as it sounds!).
Here’s what you need to know to keep your pressure canning safe and successful:
Proper Pressure Matters
The canner must reach 240°F (116°C) to safely destroy harmful bacteria—and that only happens under pressure. That’s why boiling water isn’t enough for low-acid foods.
Know Your Canner Type
- If you’re using a dial gauge canner, it needs to be tested for accuracy every year. Most county extension offices will do this for free.
- Weighted gauge canners don’t need testing—but you still have to listen for those weight jiggles to keep pressure consistent.
Always Vent the Steam First
Before pressurizing, vent the canner for 10 minutes to push out air and allow steam to fill the chamber. Skipping this step = uneven temperatures.
Start Timing Only When Pressure Is Reached
Don’t start your processing timer until the canner has reached the correct pressure (usually 10 or 15 PSI depending on your altitude and recipe). Set a timer, then monitor to keep the pressure steady.
Let the Canner Cool Naturally
Never try to quick-cool a pressure canner. Let the pressure drop on its own—don’t open the lid until the gauge reads zero or the weight has completely dropped. Forcing it open too soon is dangerous.
Follow the Recipe Exactly
No flour, no thickeners, no dairy, no substitutions. The USDA has tested specific ingredients, sizes, and processing times—changing anything could make the food unsafe.
Pressure canning feels intense at first—but once you’ve done it a couple times, it becomes just another part of your kitchen rhythm. Stick to the safety steps, and you’ll be pressure canning like a pro in no time.
How to Pressure Can: Step-by-Step
Ready to fill your pantry with jars of ready-to-go meals, beans, and veggies? Here’s exactly how to pressure can your food safely and confidently—from prepping your jars to popping those perfect seals.
1. Prep Your Jars and Ingredients
- Wash jars, lids, and bands in hot, soapy water.
- Keep jars warm (in hot water or the dishwasher) until ready to use.
- Prepare your recipe according to a tested pressure canning recipe—no shortcuts!
2. Fill the Jars
- Use a funnel to pack food into jars, following the exact headspace listed in the recipe (usually 1 to 1¼ inches for pressure canning).
- Use a bubble remover or plastic spatula to gently remove any air bubbles.
- Wipe jar rims with a clean, damp cloth.
- Add new lids and screw on bands fingertip tight.
3. Add Water to the Canner
- Most pressure canners require 2–3 inches of water, not a full pot like water bath canning.
- Check your manual—this part varies slightly between brands!
4. Load the Jars into the Canner
- Place jars on the rack inside the canner, upright and evenly spaced.
- Lock the canner lid in place, following your manufacturer’s instructions.
5. Vent the Steam
- Turn on the heat and allow steam to vent for 10 full minutes before adding the weight or closing the vent. This ensures even heating and proper sterilization.
6. Bring to Pressure
- Add the weight or close the vent and start building pressure.
- Watch the gauge (or listen for the weight to jiggle) and don’t start timing until the correct pressure is reached.
7. Process for the Recommended Time
- Once you’re at the right pressure, start your timer.
- Maintain that pressure for the entire time. If it drops—even for a moment—you have to start the timing all over again. (Annoying, but important!)
8. Turn Off the Heat and Let the Canner Cool Naturally
- When the time’s up, turn off the heat and leave the canner alone.
- Let the pressure come down naturally—don’t lift the weight or open the lid.
9. Remove the Jars
- Once pressure is fully released (gauge reads 0 or weight has dropped), open the lid away from your face.
- Use a jar lifter to carefully remove jars. Place them on a towel to cool—don’t tilt or touch!
10. Check Seals and Store
- After 12–24 hours, check that each lid is sealed (it should not flex when pressed).
- Remove the screw bands, label your jars with contents and date, and store in a cool, dark place.
Rules You Really Need to Follow
Pressure canning doesn’t leave much room for improvisation—and that’s a good thing when it comes to food safety. These rules aren’t about making things harder… they’re here to protect your health and your pantry success.
Here’s what you absolutely need to follow every single time:
1. Use a Pressure Canner (Not a Pressure Cooker)
Appliances like Instant Pots are not approved for canning—they don’t maintain consistent pressure or temperature. Only use USDA-approved pressure canners.
2. Follow a Tested Recipe Exactly
This means no swapping ingredients, no guessing processing times, and no adding thickeners, dairy, or pasta. The balance of acidity, density, and time is what keeps your food safe.
3. Adjust for Altitude
If you live above 1,000 feet elevation, you need to increase the pressure, not the time. Check a pressure canning altitude chart to know how many pounds of pressure to use.
4. Vent the Canner for 10 Minutes
Always vent steam before pressurizing—this step is key for reaching safe and even temperatures inside the canner.
5. Start Your Timer Only When at Full Pressure
You want to start the processing timer only after your canner hits the correct PSI. Starting too early = underprocessed food.
6. Never Force the Lid Open
No cold water baths, no lifting the weight early, no rushing it along. Letting the canner cool and depressurize naturally is part of the process—and ensures safety.
7. Don’t Reuse Lids for Canning
Always use brand new flat lids. Reused ones may not seal properly and could spoil your batch.
8. Let Jars Cool Undisturbed
Once your jars are out, set them on a towel and walk away. No tipping, no tightening, no poking at the lids until 12–24 hours later.
When you stick to these golden rules, pressure canning is not only safe—it’s empowering. You’ll get into the rhythm quickly, and pretty soon, it’ll feel like second nature.
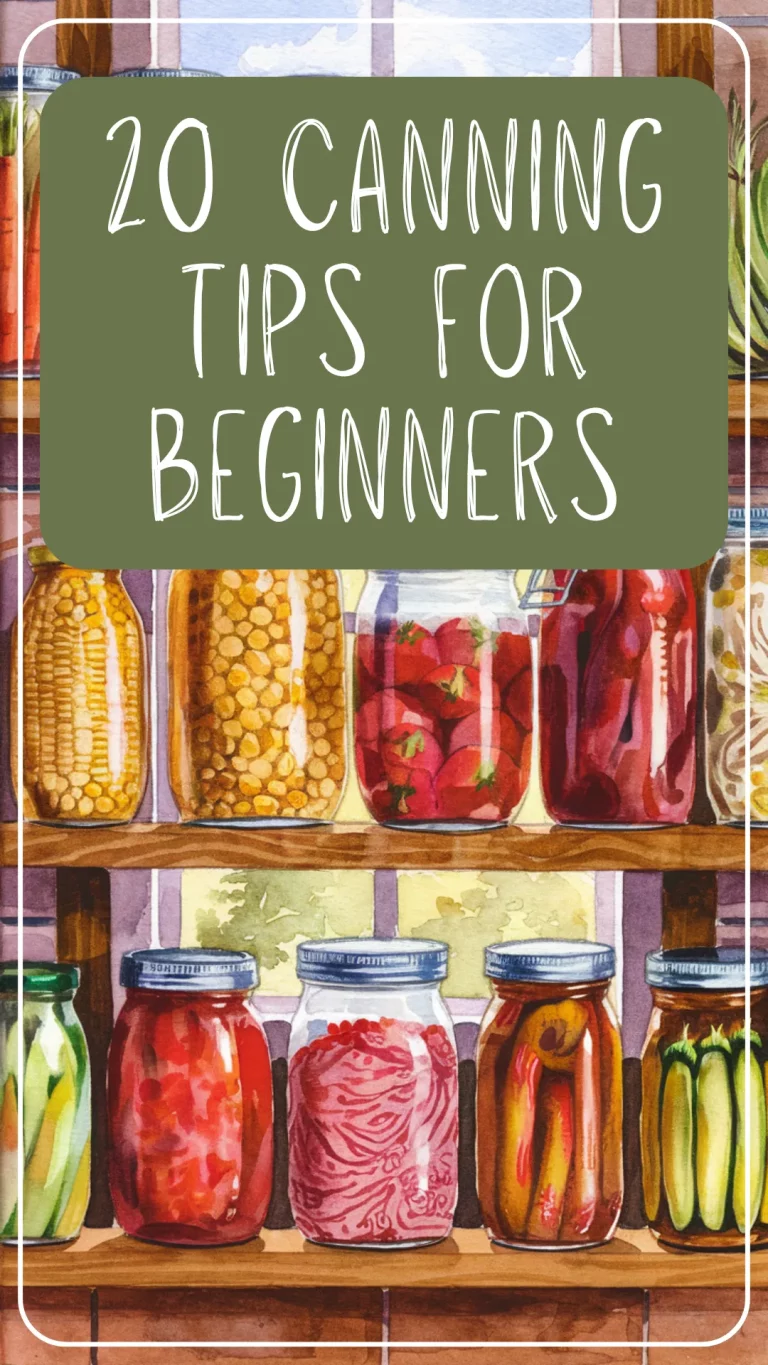
Beginner-Friendly Recipes to Try First
When you’re just getting started with pressure canning, it’s best to keep things simple. These first-time-friendly recipes are straightforward, tested for safety, and a great way to build confidence with your canner.
Canned Beans (Any Kind!)
- Soak overnight or quick-soak your beans, then partially cook and can them in water.
- Super versatile and way cheaper than store-bought!
- Try black beans, kidney beans, pinto beans, or chickpeas.
Carrots or Green Beans
- Easy to prep, easy to pack, and a great intro to pressure canning.
- Can in water with optional salt—done!
Chicken or Turkey (Boneless or Bone-In)
- Pressure can raw or cooked meat in chunks—just pack into jars with no liquid or a bit of broth.
- Super handy for quick weeknight meals.
Vegetable or Chicken Stock
- No food waste! Use veggie scraps or bones to make a big batch of flavorful stock.
- Canning it means no freezer space needed—and instant soup starters all year round.
Simple Soup (No Noodles or Thickeners)
- Use a tested USDA or extension office recipe.
- Good beginner options: chicken soup with veggies, beef stew, or vegetable soup.
All of these recipes can be made in small batches and don’t require fancy ingredients. Just remember—no flour, dairy, cream, or pasta in pressure canned recipes. If you want a creamy texture later, add those ingredients when reheating!
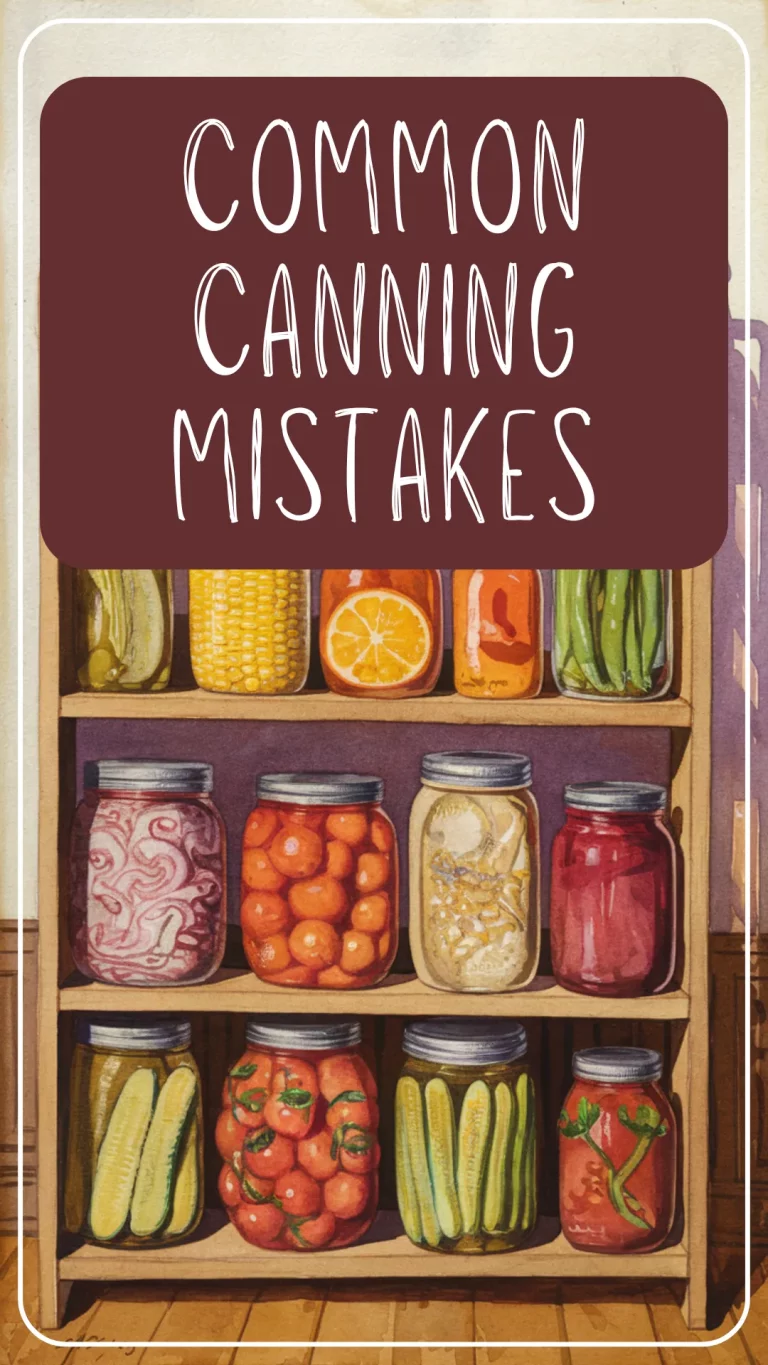
Common Mistakes to Avoid
Pressure canning may feel a bit technical at first, but most beginner mistakes are easy to avoid once you know what to watch for. Here’s a quick list of common slip-ups—so you can skip the stress and focus on filling your pantry like a pro!
1. Using a Pressure Cooker Instead of a Canner
It’s an easy mix-up! But pressure cookers (including electric models like the Instant Pot) aren’t approved for safe home canning. Stick with a stovetop pressure canner.
2. Skipping the Steam Venting Step
Forgetting to vent steam for 10 minutes before pressurizing means your canner may not reach the correct temperature—putting your food at risk.
3. Not Monitoring Pressure Carefully
Letting the pressure drop even once means you need to restart the processing time. That’s a headache no one wants—so keep an eye (or ear) on the gauge or weight.
4. Trying to Rush the Cool-Down
Running your canner under cold water or lifting the weight early is a major no-no. It can damage jars, ruin seals, and cause dangerous pressure release. Let it cool naturally, every time.
5. Using an Unapproved Recipe
This is a biggie. A recipe passed down from Grandma or found in a random blog post might not meet current safety standards. Always use a tested, science-backed recipe from a trusted source.
6. Canning with Dairy, Flour, or Pasta
These ingredients interfere with heat penetration and increase the risk of spoilage. If you want a creamy soup or thick stew, add those ingredients after opening the jar, when you’re ready to eat.
7. Overfilling the Jars
Too little headspace can cause food to siphon out during processing, while too much might lead to seal failure. Follow the recipe’s instructions exactly.
Even if you make a mistake or two (we all do!), it’s usually fixable—and you’ll be more confident next time around. Pressure canning gets easier with every batch. Promise!
Pressure Canning FAQs
Still got a few questions? Totally normal. Here are the answers to the most common pressure canning “what ifs” that pop up when you’re just getting started:
What’s the difference between a pressure canner and a pressure cooker?
A pressure canner is larger and designed to maintain consistent pressure and temperature over long periods—essential for safe canning. A pressure cooker (like an Instant Pot) doesn’t meet USDA guidelines for home canning and should never be used for it.
Can I reuse old lids?
Nope. Always use brand-new flat lids for each jar you can. Reused lids may not seal properly, and failed seals = spoiled food. You can reuse the screw bands and jars, though!
Why can’t I can creamy soups, flour-thickened stews, or pasta?
Dairy, flour, and pasta can interfere with heat penetration and may create unsafe canning conditions. They’re also more likely to break down or separate during storage. Add those ingredients when reheating, not before canning.
My pressure dropped mid-process—now what?
If the pressure drops even briefly, you need to bring it back to full pressure and start the timing over from the beginning. Yes, it’s a pain—but it’s the only way to make sure your food is safe.
How do I know if my pressure canner is working correctly?
If you’re using a dial gauge canner, it should be tested once a year (check with your local extension office). If you’re using a weighted gauge, you just need to make sure the weight jiggles or rocks at the correct rhythm once pressure is reached.
Can I pressure can more than one kind of food in a batch?
Yes—as long as every food in the jar follows the processing time and pressure of the ingredient that needs the most. Example: if you’re canning carrots and meat together, follow the meat’s instructions.
My cans didn’t seal – now what do I do?
If your jars didn’t seal, don’t panic—it happens! You can either reprocess the jar within 24 hours, refrigerate and eat the contents soon, or freeze it for later. Unsealed jars are not shelf-stable, so don’t store them in your pantry. Always use new lids, check for rim damage, and make sure your headspace was correct.
Pressure canning might seem intimidating at first, but once you’ve done a batch or two, it starts to feel easy—and honestly, a little addictive. You’ll be reaching for your own jars of soup, beans, and stew in the middle of winter and feeling like an absolute kitchen genius.
You’re Ready to Start Pressure Canning!
If pressure canning felt intimidating before—you’re not alone. But now? You’ve got the basics, the safety know-how, and a list of beginner-friendly recipes ready to go. 🙌
With each batch, you’ll get more comfortable managing pressure, reading recipes, and knowing exactly when everything’s working just right. And before you know it, your pantry will be stocked with homemade meals, vegetables, and broths that are ready whenever you are.
So grab that pressure canner, trust the process, and get ready to feel so proud when you hear that satisfying little “pop” as your jars seal. You’ve got this.